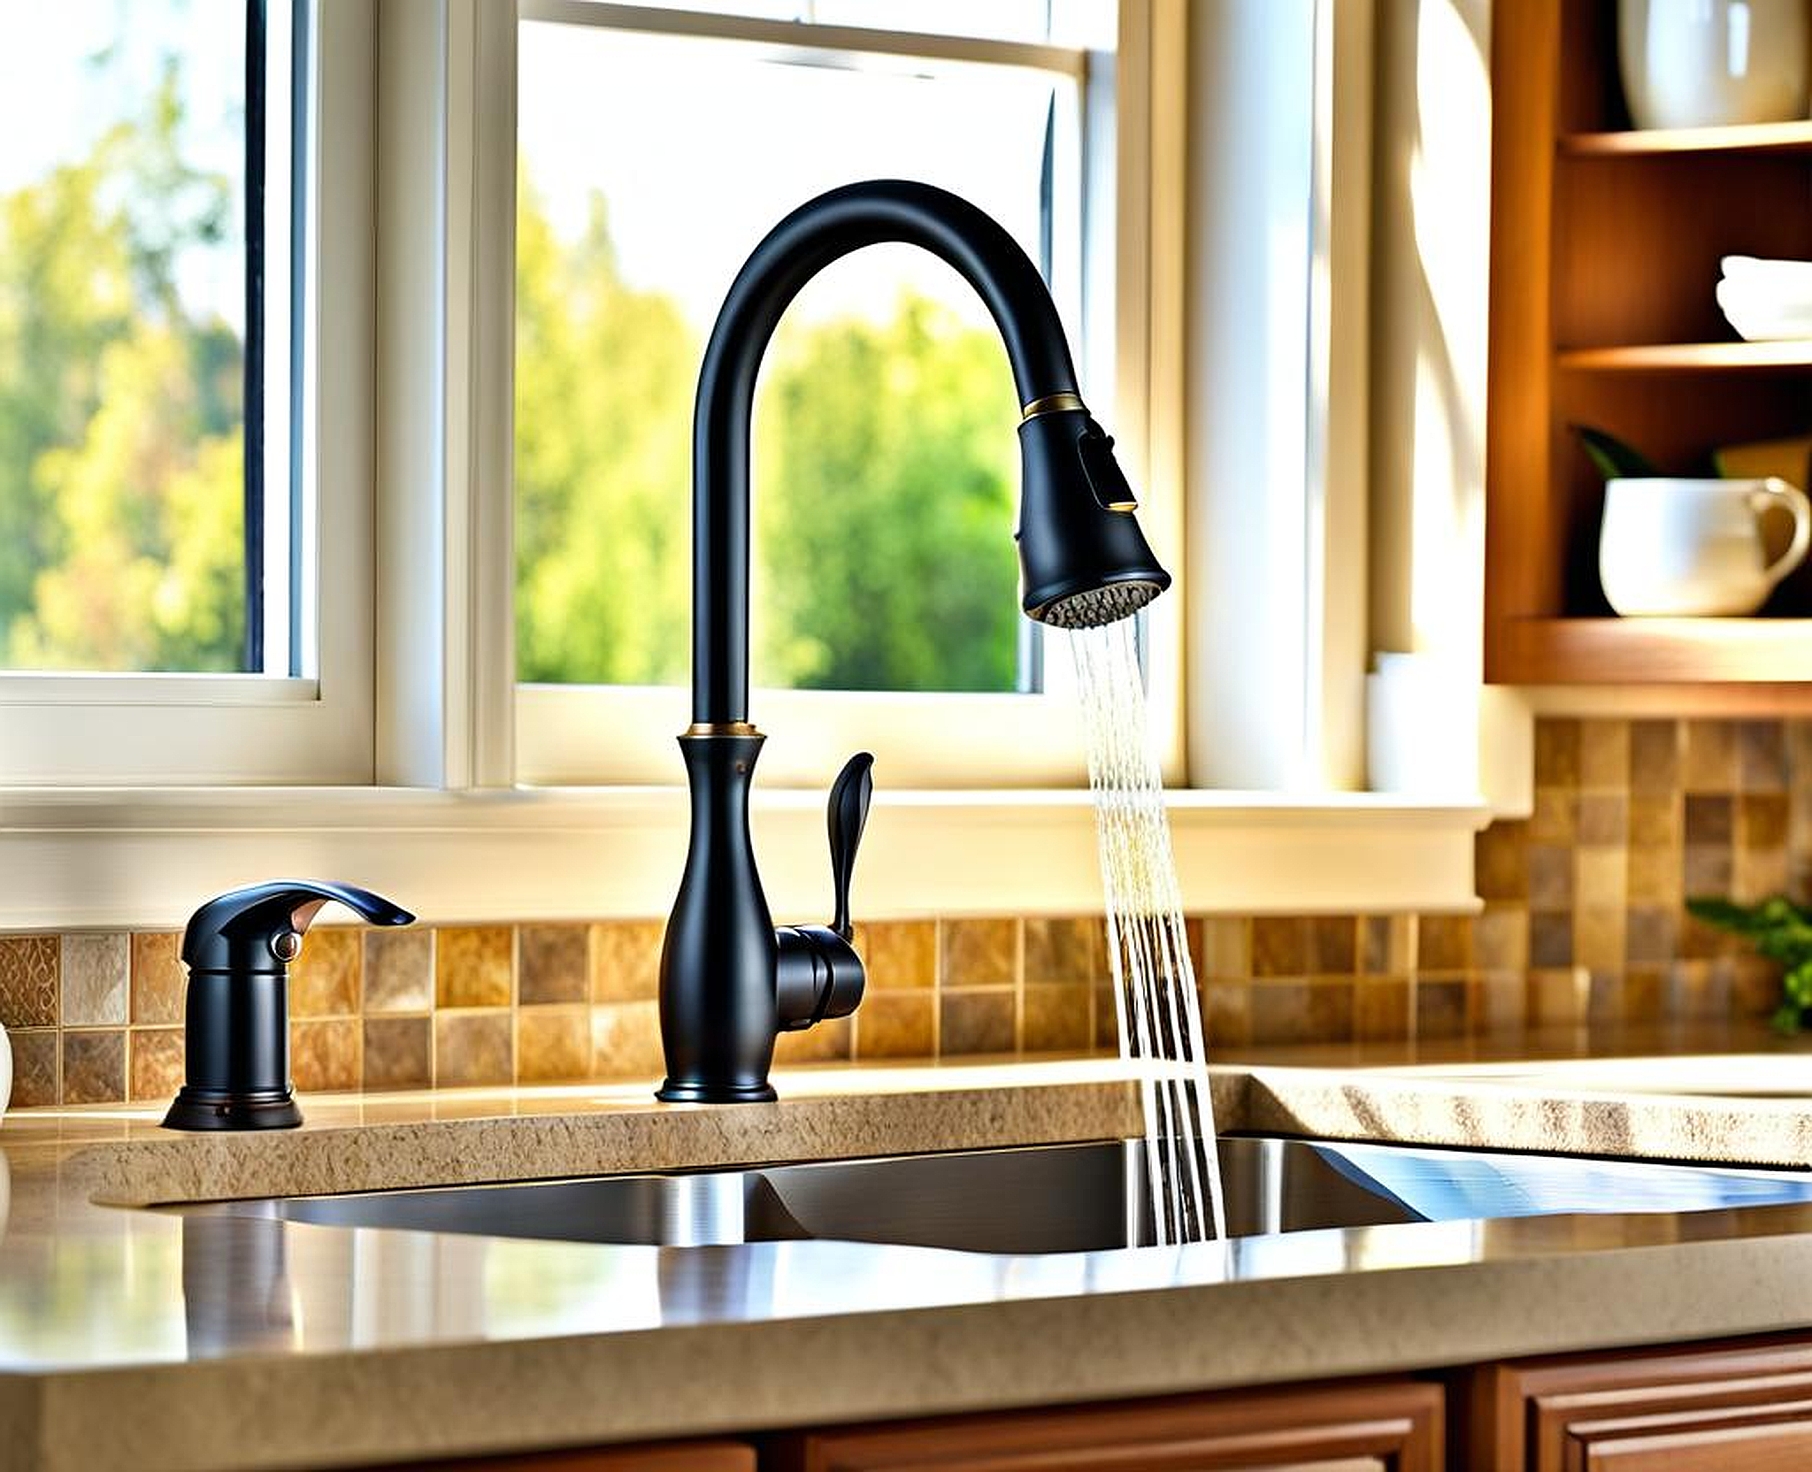
Encountering a dripping kitchen faucet can be frustrating, but you don’t have to panic or call a plumber immediately. With the right knowledge and tools, you can easily fix a leaky faucet yourself, saving time and money. This comprehensive guide will walk you through the process of how to fix a dripping kitchen faucet efficiently.
Identify the Cause of the Leaky Faucet
Before you start the repair process, it’s essential to identify the cause of the leak. In most cases, a dripping faucet is caused by worn-out washers, corroded valve seats, or loose parts. Take a close look at your faucet and inspect it for visible signs of wear or damage. Common indicators of a leaky faucet include water dripping from the spout, handle, or base of the faucet.
Washers are small rubber or plastic components that create a watertight seal when the faucet is turned off. Over time, these washers can become brittle, cracked, or worn down, allowing water to seep through and cause a leak. Valve seats, on the other hand, are the surfaces inside the faucet where the water flow is controlled. If these seats become corroded or damaged, they may prevent the faucet from closing properly, resulting in a constant drip.
Tools and Materials Needed
Before you begin the repair process, gather the necessary tools and materials. You’ll need:

- Basin wrench or slip-joint pliers: These tools are essential for disassembling the faucet and removing the stem.
- Replacement washers or valve seats: Depending on the cause of the leak, you may need to replace the washers or valve seats. Make sure to purchase the correct size and type for your specific faucet model.
- Faucet lubricant: A small amount of lubricant can help ensure smooth operation and prevent future leaks.
- Towels or rags: These will help you catch any water that may drip during the repair process and keep your work area clean.
It’s always a good idea to have these tools and materials on hand before you start, as it will make the repair process much smoother and more efficient.
Step-by-Step Guide to Fix a Dripping Faucet
Once you have identified the cause of the leak and gathered the necessary tools and materials, follow these simple steps to fix your dripping kitchen faucet:
- Turn off the water supply: Locate the shut-off valves under the sink or near the main water line and turn them clockwise to shut off the water supply to the faucet.
- Disassemble the faucet: Refer to the manufacturer’s instructions or online tutorials to properly disassemble your specific faucet model. This typically involves removing the handle, stem, and any other components that provide access to the washers or valve seats.
- Replace worn washers or valve seats: If the washers are worn or the valve seats are corroded, replace them with new ones. Make sure to clean the area thoroughly before installing the new parts.
- Reassemble the faucet: Carefully follow the reverse order of disassembly to put the faucet back together. Ensure that all components are properly aligned and tightened to avoid future leaks.
- Turn the water back on: Once the faucet is fully reassembled, turn the shut-off valves counterclockwise to restore the water supply. Check for any remaining leaks and make adjustments as needed.
It’s important to follow the manufacturer’s instructions closely and take your time during the disassembly and reassembly process. If you encounter any difficulties or feel uncomfortable with the repair, don’t hesitate to seek professional assistance.
Maintenance Tips to Prevent Future Leaks
While fixing a dripping faucet can be a simple task, preventative maintenance is key to avoiding future leaks and prolonging the lifespan of your faucet. Here are some tips to keep in mind:
- Periodically check for leaks: Make it a habit to inspect your faucet for any signs of leaks or loose parts. Catching issues early can prevent more significant problems down the line.
- Replace washers or valve seats every few years: Even if your faucet isn’t leaking, it’s a good idea to replace the washers and valve seats every 3-5 years, depending on usage and water quality.
- Use faucet lubricant: Applying a small amount of faucet lubricant to the moving parts can help keep them functioning smoothly and prevent wear and tear.
By following these simple maintenance tips, you can extend the lifespan of your kitchen faucet and avoid the hassle and expense of frequent repairs or replacements.
While many dripping faucet issues can be resolved with a bit of DIY effort, there are certain situations where it’s best to call in a professional plumber. Here are a few scenarios where you may want to seek expert assistance:
- If the leak persists after attempting repairs: Sometimes, even after replacing washers and valve seats, a leak may continue. This could indicate a more complex issue that requires further diagnosis and repair.
- For more complex faucet replacements or installations: If you’re planning to replace your entire faucet or install a new one, it’s often easier and safer to have a professional handle the job, especially if you’re unfamiliar with plumbing work.
- If you’re uncomfortable working with plumbing fixtures: Plumbing repairs can be daunting for those without experience. If you’re unsure about your DIY skills or uncomfortable working with plumbing fixtures, it’s better to call a professional to avoid potential issues or costly mistakes.
While fixing a leaky kitchen faucet can be a straightforward task for many homeowners, it’s always wise to know your limits and prioritize safety. Don’t hesitate to seek professional assistance when needed, as it can save you time, money, and frustration in the long run.