Selecting the right size subway tile for your kitchen backsplash can elevate the entire space, creating a stunning focal point that seamlessly blends function and style. Whether you’re embarking on a complete kitchen renovation or simply refreshing the backsplash, understanding what size subway tile for kitchen backsplash complements your design vision is crucial.
What is Subway Tile and Why is it Popular for Kitchen Backsplashes?
Subway tiles, initially popularized by the iconic subway stations, have become a versatile and timeless choice for modern kitchen designs. These rectangular ceramic or porcelain tiles, often characterized by their glossy or matte finish, offer a sleek and clean aesthetic that effortlessly complements various kitchen styles, from contemporary to farmhouse chic.
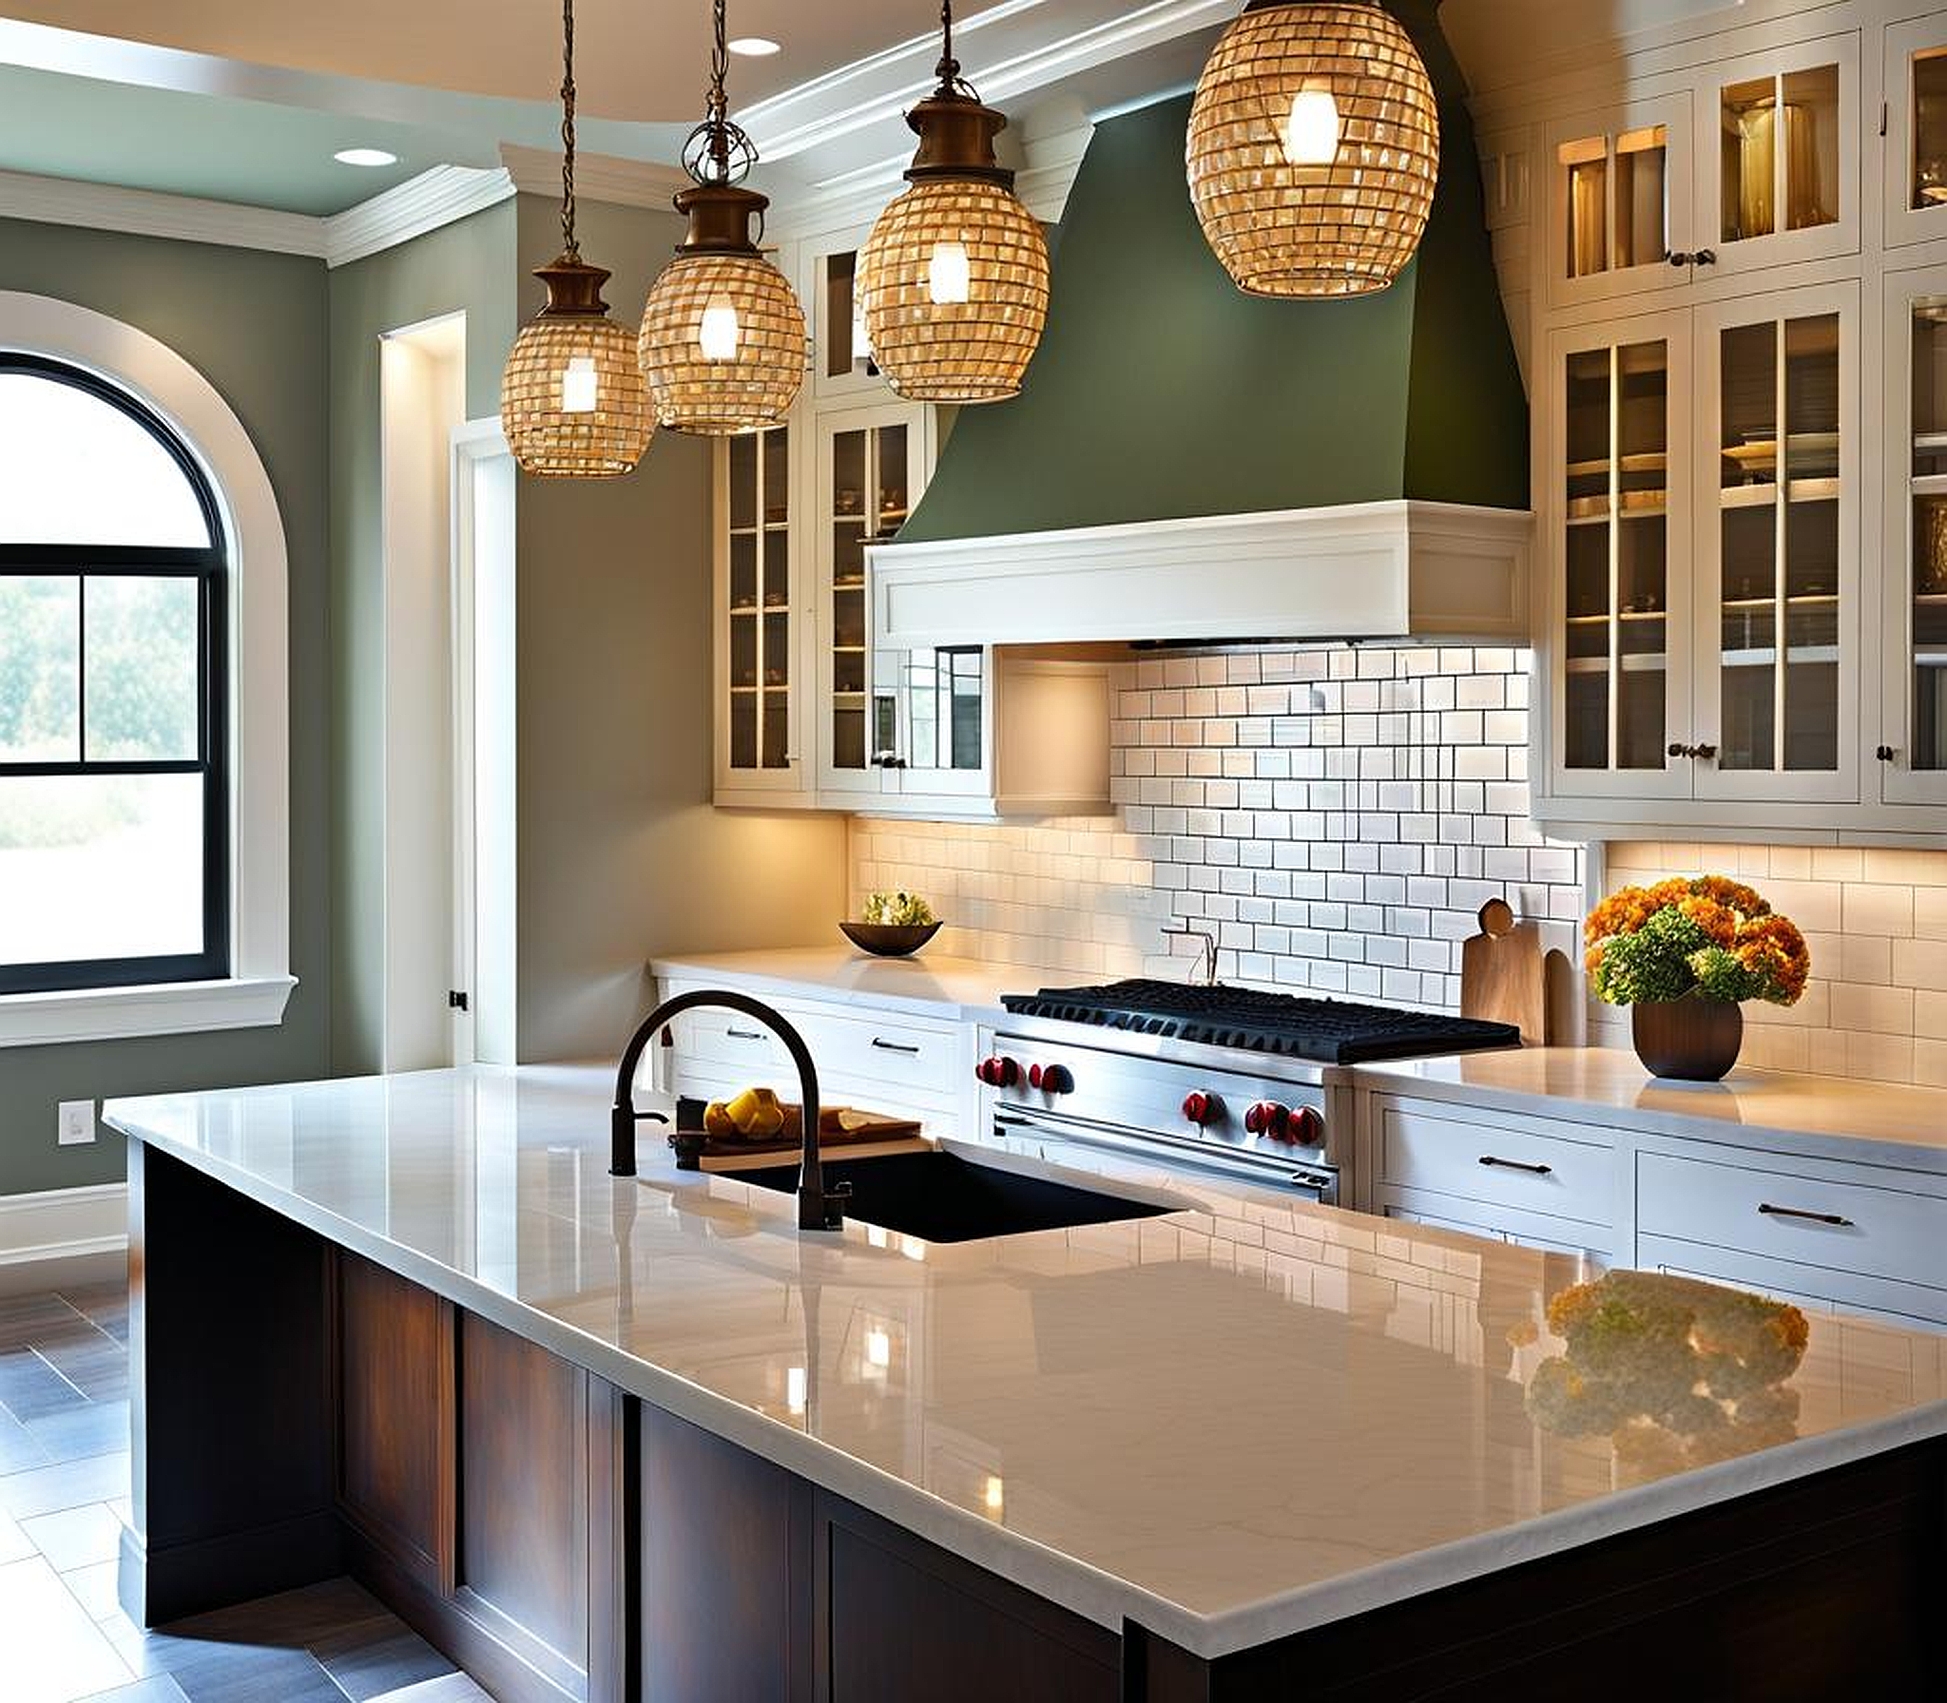
Beyond their visual appeal, subway tiles are renowned for their durability and ease of maintenance, making them an ideal choice for high-traffic areas like kitchen backsplashes. Their popularity can be attributed to several factors, including:
- Versatility: Subway tiles come in a range of sizes, colors, and finishes, allowing for endless design possibilities.
- Timeless Style: The classic subway tile pattern transcends fleeting trends, ensuring a timeless look for years to come.
- Ease of Installation: With their rectangular shape and uniform size, subway tiles are relatively easy to install, even for DIY enthusiasts.
- Practical Benefits: Subway tiles are resistant to moisture, stains, and heat, making them a practical choice for kitchen backsplashes.
Factors to Consider When Choosing Subway Tile Size for Your Kitchen Backsplash
Selecting the perfect size subway tile for your kitchen backsplash involves considering various factors, including the size of your kitchen, the overall design aesthetic, and personal preferences. Here are some key elements to keep in mind:
- Kitchen Size: Smaller kitchens may benefit from larger subway tiles, which can create an illusion of spaciousness, while larger kitchens can accommodate a range of tile sizes without feeling overwhelming.
- Backsplash Height: The height of your backsplash can influence the tile size you choose. For instance, a higher backsplash may accommodate larger tiles without feeling cramped.
- Countertop and Cabinet Colors: Consider the colors and patterns of your countertops and cabinets when selecting the tile size. Larger tiles can create a seamless flow, while smaller tiles can add visual interest and contrast.
- Desired Aesthetic: Smaller subway tiles tend to create a more traditional, vintage vibe, while larger tiles can lend a more modern and sleek appearance.
Standard Subway Tile Sizes and Their Advantages
Subway tiles are available in a range of standard sizes, each offering unique advantages. Here are some popular options:
- 3×6 Inches: A classic size that offers a timeless look and is well-suited for most kitchen backsplashes.
- 4×8 Inches: These larger tiles create a more contemporary feel and can make a small space appear larger.
- 2×6 Inches: A petite size that adds texture and visual interest, particularly in smaller kitchens or for accent walls.
- 1×6 Inches: Slim and elongated, these tiles can create a subtle vertical illusion, making ceilings appear taller.
It’s essential to consider the grout lines when selecting the tile size. Smaller tiles will have more grout lines, adding texture and dimension, while larger tiles will have fewer grout lines, creating a sleeker and more seamless look.
Popular Subway Tile Patterns and Layouts for Different Tile Sizes
Once you’ve selected the ideal tile size, explore various patterns and layouts to add depth and personality to your backsplash. Here are some popular options:
- Staggered or Brick Pattern: This classic pattern, reminiscent of traditional brickwork, creates visual interest and movement.
- Herringbone Pattern: An eye-catching, zigzag pattern that adds dimension and texture, particularly well-suited for larger tiles.
- Vertical or Horizontal Stack: A sleek and modern layout that can create the illusion of height or length, depending on the orientation.
- Basketweave Pattern: A intricate and dynamic pattern that intertwines tiles, adding a touch of sophistication.
Experiment with different grout colors, too! Contrasting grout can accentuate the tile pattern, while a matching grout color can create a more seamless look.
Whether you’re a seasoned DIYer or hiring a professional, proper installation is crucial for a polished and long-lasting backsplash. Here are some tips and tricks to ensure a flawless result:
- Prepare the Surface: Ensure the wall surface is clean, dry, and free of any debris or unevenness for optimal tile adhesion.
- Use the Right Adhesive: Choose a high-quality, moisture-resistant adhesive specifically designed for tile installations.
- Maintain Consistent Grout Lines: Use plastic spacers to ensure even grout lines throughout the installation.
- Seal the Backsplash: After installation and grout curing, apply a sealant to protect the tiles from stains, moisture, and wear.
- Consider Patterns and Layouts: Plan ahead and lay out the tiles on a dry surface to visualize the pattern before installation.
With careful planning, attention to detail, and a touch of creativity, you can transform your kitchen with a stunning subway tile backsplash that not only adds visual interest but also increases the overall value of your home.
