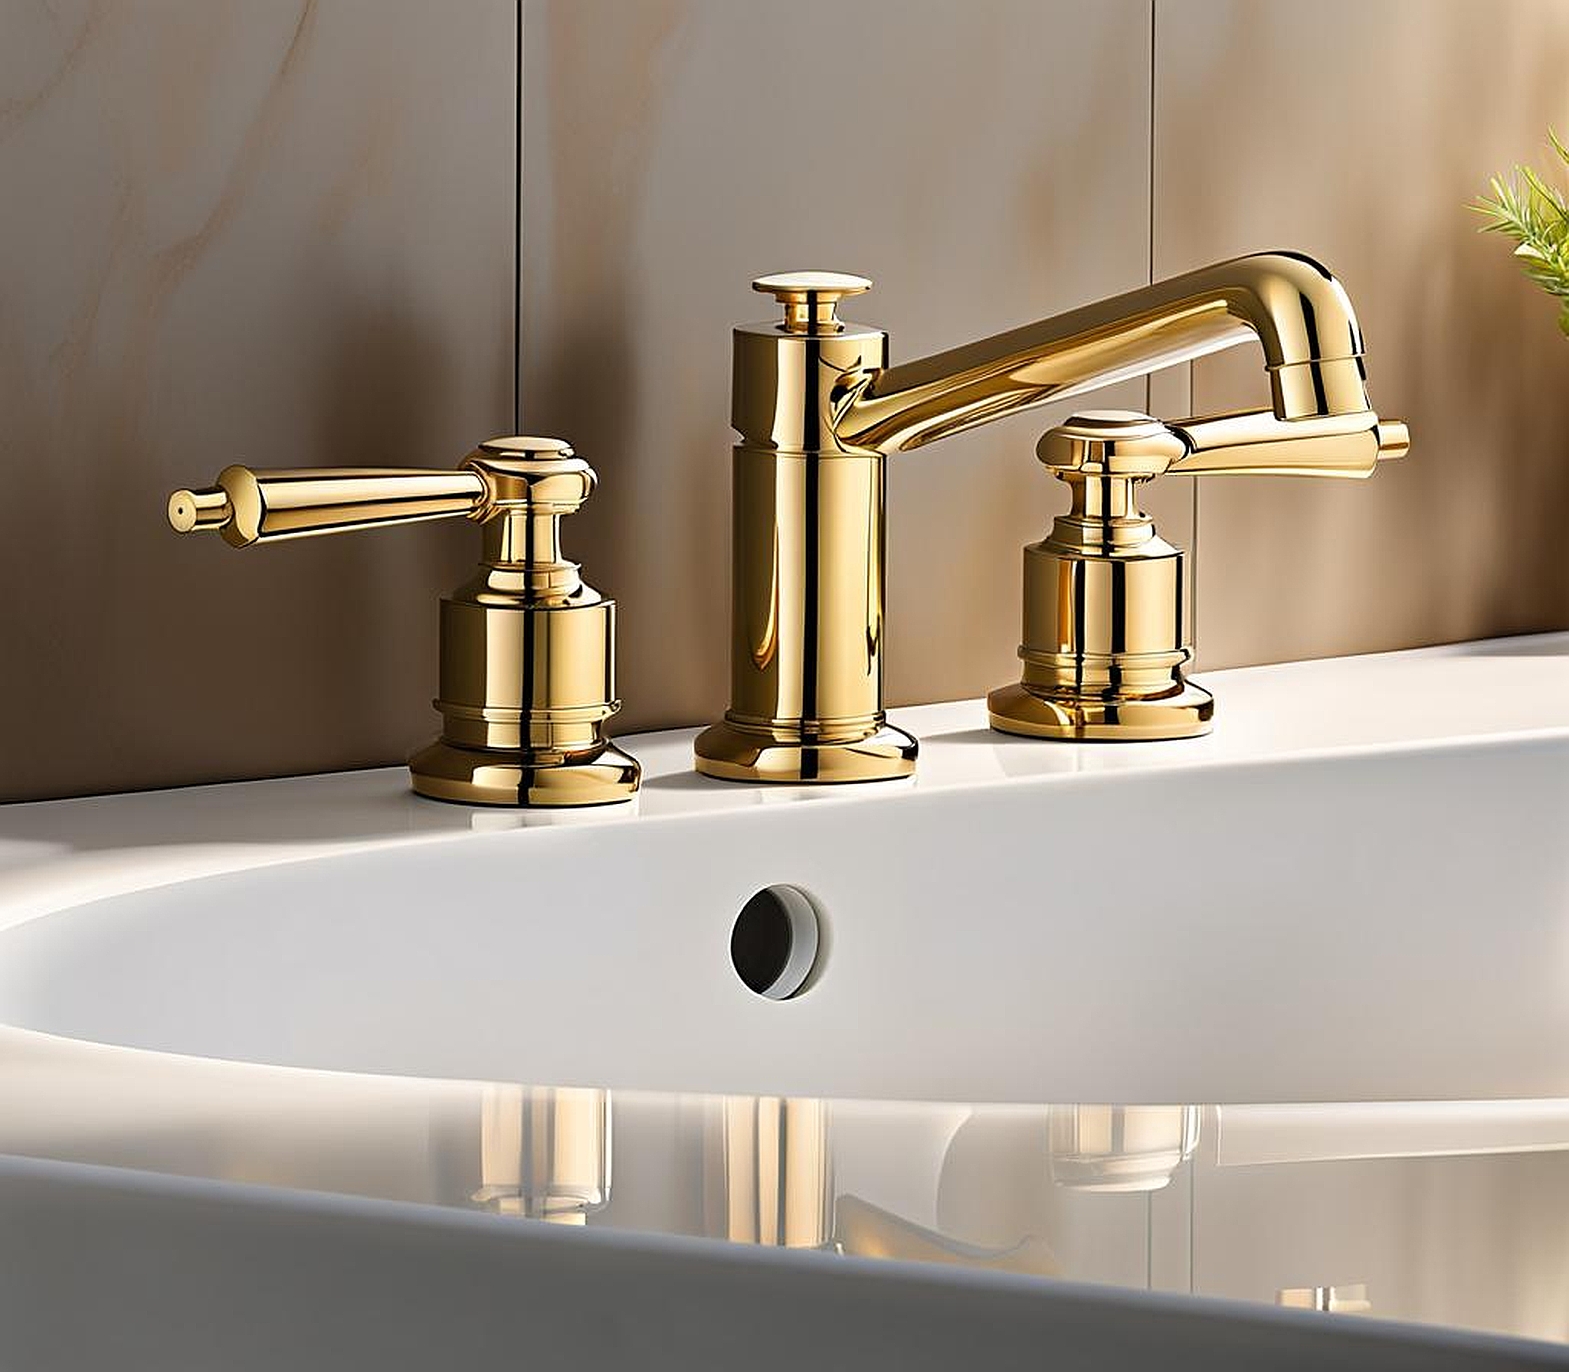
Dealing with a loose or dripping faucet can be a frustrating experience, but fear not! Tightening your faucet is a straightforward task that often resolves the issue. By following this comprehensive guide, you’ll learn how to tighten compression faucets efficiently, saving you from the hassle of calling a plumber for a seemingly minor repair.
Identify Types of Faucets and Tightening Mechanisms
Before we dive into the nitty-gritty, it’s essential to understand the different types of faucets and their tightening mechanisms. Compression faucets are among the most common and feature two handles that control the hot and cold water flow. These faucets rely on rubber washers, also known as valve seats, to create a watertight seal when the handles are turned off.
Over time, these washers can deteriorate, causing drips or leaks. Fortunately, tightening the faucet stem (the metal shaft that protrudes from the faucet body) can often resolve the issue by compressing the washer against the valve seat, restoring a tight seal. Pay close attention to the faucet repair kit instructions, as the process may vary slightly depending on the manufacturer and model.
Gather Essential Tools and Materials
Before you roll up your sleeves, ensure you have the necessary tools and materials on hand. For most compression faucet repairs, you’ll need:

- Adjustable wrench or pliers
- Replacement washers or a faucet repair kit
- Rag or paper towels
- Penetrating oil (if the faucet stem is stuck)
- A bucket or container to catch water
Having these items readily available will streamline the process and prevent frustrating interruptions once you’ve started.
Step-by-Step Guide to Tighten Compression Faucets
Now that you’ve identified the type of faucet and gathered your tools, it’s time to roll up your sleeves and get to work. Here’s a step-by-step guide to tightening compression faucets:
- Turn off the water supply to the faucet by locating the shut-off valves under the sink or behind the faucet. This will prevent water from gushing out while you’re working.
- Open the faucet handles to relieve any remaining water pressure in the lines.
- Use the adjustable wrench or pliers to loosen the packing nut or setscrew that secures the faucet stem in place. You may need to apply penetrating oil if the stem is stuck.
- Carefully remove the faucet stem and inspect the washer or valve seat for wear or damage. Replace it with a new washer or follow the faucet installation guide if it’s part of a faucet repair kit.
- Once the new washer is in place, reinsert the faucet stem and tighten the packing nut or setscrew to secure it. Be careful not to overtighten, as this can damage the stem or cause the washer to deform.
- Turn the water supply back on and check for leaks. If necessary, adjust the tightness of the packing nut or setscrew until the dripping stops.
Remember, patience and attention to detail are key when working with plumbing fixtures. If you encounter any difficulties or the issue persists, don’t hesitate to consult a professional faucet repair manual or seek assistance from a licensed plumber.
Troubleshooting Common Issues with Faucet Tightening
Even with a meticulous approach, you may encounter some hiccups along the way. Here are some common issues and troubleshooting tips:
- Leaking persists after tightening: Double-check that the washer is properly seated and the packing nut or setscrew is tightened securely but not excessively. If the issue persists, the faucet stem or valve seat may be damaged and need replacement.
- Faucet handle is loose or won’t turn: This could indicate a problem with the faucet cartridge or internal components. Consult the faucet adjustment guide or consider replacing the faucet if it’s beyond repair.
- Water pressure is low after tightening: Ensure that the shut-off valves are fully open and check for any kinks or obstructions in the water lines.
Don’t be discouraged if you encounter a hiccup or two. Troubleshooting is part of the process, and with a little patience and perseverance, you’ll be able to conquer even the most stubborn faucet issues.
Once you’ve successfully tightened your faucet, it’s essential to implement some maintenance practices to keep it in tip-top shape. Here are some valuable tips:
- Regularly inspect the faucet for signs of leaks, drips, or loose handles.
- Periodically tighten the packing nut or setscrew to maintain a secure seal.
- Replace washers or valve seats as soon as you notice wear or damage.
- Consider replacing older faucets with newer, more efficient models to prevent future issues.
- When tightening faucet aerators or other components, use the proper tools and avoid overtightening, which can cause damage.
By following these simple maintenance tips, you’ll not only prolong the life of your faucets but also save money on costly repairs or replacements down the line.
So, there you have it, folks! With this comprehensive guide, you’re now equipped with the knowledge and tools to tackle those pesky loose or dripping faucets like a pro. Remember, a little elbow grease and attention to detail can go a long way in repairing loose faucets and fixing dripping faucets, leaving you with a leak-free, well-functioning bathroom or kitchen.