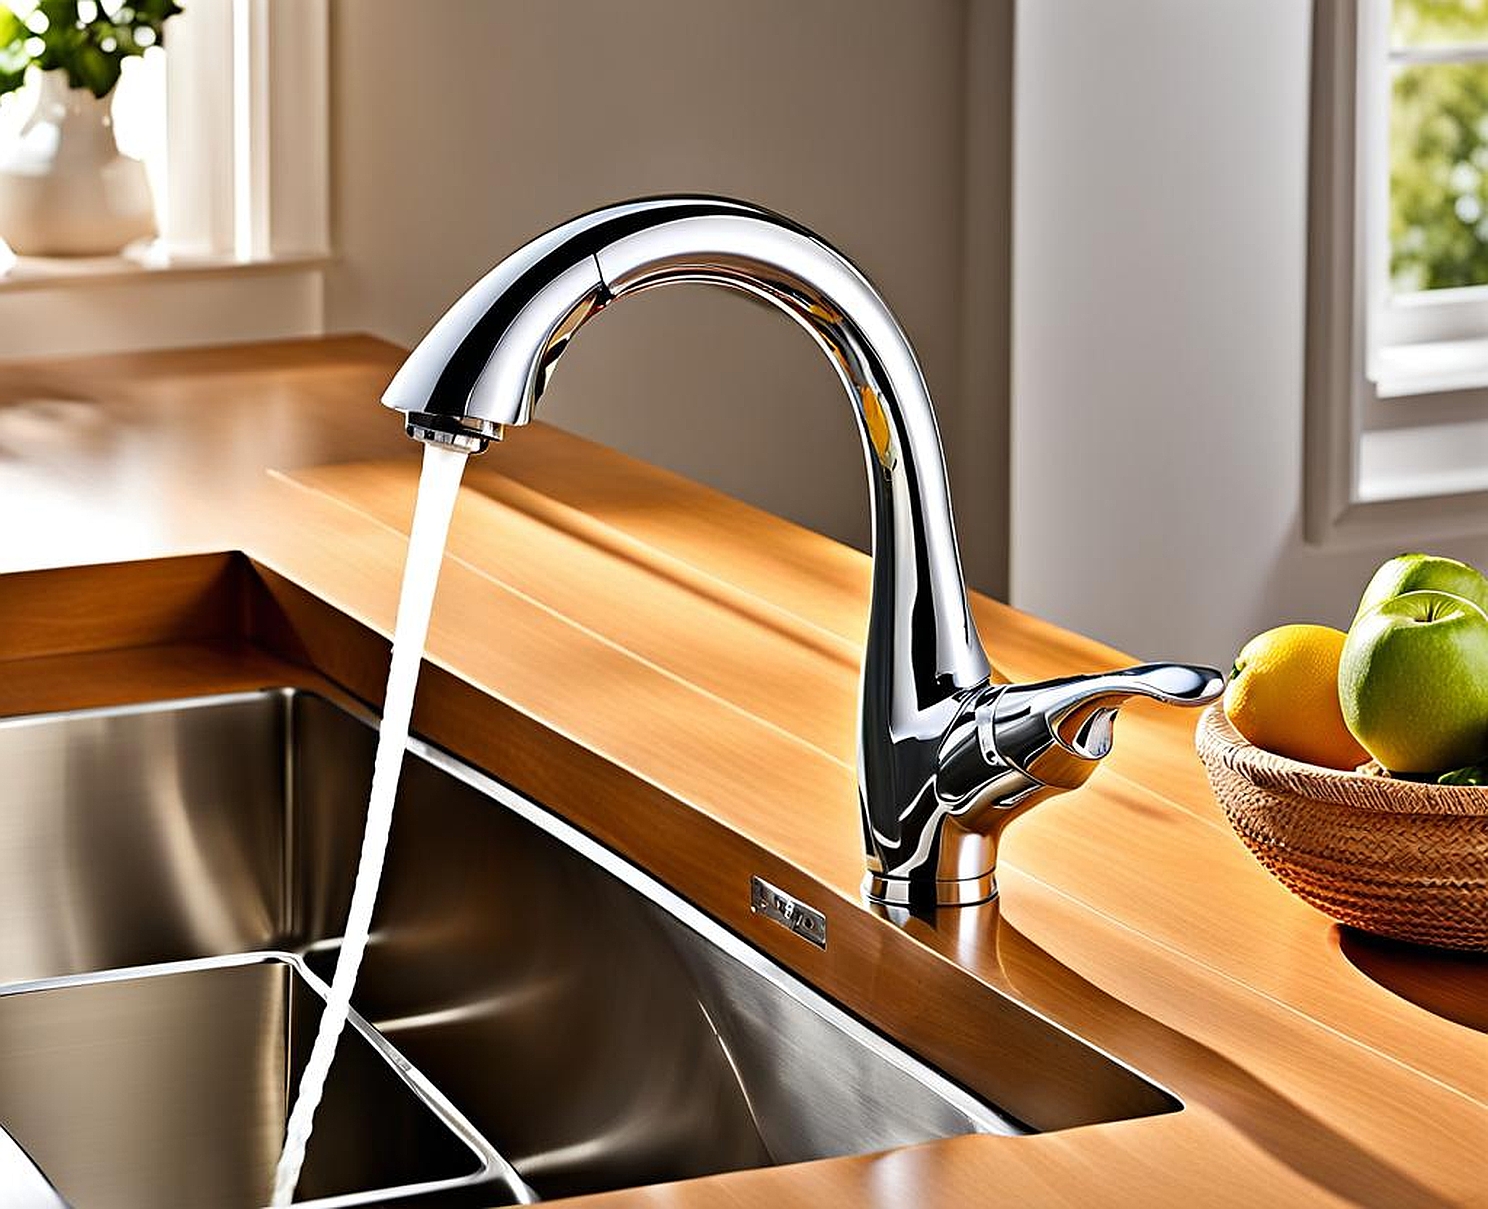
Upgrading your kitchen faucet is an affordable way to breathe new life into your cooking space. Not only does a fresh faucet spruce up the overall aesthetic, but it can also improve functionality and add a touch of modern flair. If you’ve been eyeing those sleek, stylish fixtures, you’ll be delighted to know replacing a kitchen faucet is a relatively straightforward DIY project. With the right tools and guidance on how to change a kitchen faucet, you’ll be well on your way to a revitalized sink area.
What You’ll Need for a Successful Faucet Changeout
Before diving into the faucet replacement process, it’s crucial to have the necessary tools and materials on hand. Gather these essentials to ensure a smooth and efficient installation:
- Basin wrench (or faucet puller)
- Adjustable wrench
- Pliers (slip-joint and tongue-and-groove)
- Teflon tape or plumber’s putty
- Towels or rags
- Replacement faucet and compatible supply lines
Having these tools readily available will prevent frustration and delays midway through the project. Additionally, take the time to clear the area under the sink, ensuring you have ample space to work comfortably.
Preparing the Work Area
To safeguard your surfaces and protect the new faucet from scratches or dents, lay down a towel or drop cloth on the countertop and in the sink basin. This simple step will make cleanup a breeze and prevent any accidental damage during the installation process.
Removing the Old Kitchen Faucet Properly
With your tools and work area prepped, it’s time to bid farewell to that outdated faucet. Begin by turning off the water supply lines, typically located under the sink or near the main water shutoff valve. Once the water is off, open the faucet to release any remaining pressure in the lines.

Next, disconnect the supply lines from the faucet using your pliers or adjustable wrench. Have a towel or rag handy to catch any residual water that may drip out. Carefully unscrew the mounting hardware or nuts securing the faucet to the sink, taking note of how the components are assembled for easier reinstallation.
If the faucet is particularly stubborn or corroded, you may need to employ the basin wrench or faucet puller to dislodge it from the sink basin. With a bit of elbow grease and patience, the old fixture should come loose, allowing you to lift it out and prepare for the new installation.
Installing the New Stylish Kitchen Faucet
With the old faucet removed, it’s time to usher in a fresh, stylish upgrade. Before mounting the new faucet, apply a generous amount of plumber’s putty or sealant to the underside of the base, ensuring a watertight seal with the sink.
Carefully follow the manufacturer’s instructions for securing the faucet to the sink basin. This typically involves tightening mounting nuts or screws from underneath, but the specifics may vary depending on the faucet model. Enlist an extra set of hands if needed to hold the faucet steady while you tighten the hardware.
Connecting the Water Supply Lines
Once the faucet is securely in place, reattach the water supply lines. If your new faucet came with pre-attached supply lines, simply connect them to the shutoff valves under the sink. If you’re reusing the existing supply lines, wrap the threads with Teflon tape to prevent leaks before reconnecting them to the faucet.
Slowly turn the water supply back on and check for any drips or leaks around the faucet base and supply line connections. If you notice any wetness, gently tighten the connections or add more sealant as needed until the leak is resolved.
Achieving a Professional Installation
For a polished, professional-looking installation, take the time to ensure the faucet is level and properly aligned with the sink basin. Make any necessary adjustments to the mounting hardware until the faucet sits perfectly straight.
Once everything is secure and leak-free, turn the faucet on and off a few times to ensure smooth operation and proper water flow. If any issues arise, consult the manufacturer’s troubleshooting guide or seek assistance from a plumbing professional.
Finishing Touches and Maintenance Tips
With your sleek new faucet in place, it’s time to put the finishing touches on your kitchen upgrade. Wipe down the faucet and sink area, removing any residual sealant or debris for a pristine appearance.
Caring for Your New Kitchen Faucet
To maintain your faucet’s stunning look and optimal performance, follow the manufacturer’s recommended cleaning and maintenance guidelines. Avoid harsh chemicals or abrasive cleaners that could potentially damage the finish. Instead, opt for mild soap and water or a specialized faucet cleaner.
Regularly check for any mineral buildup or debris accumulation around the faucet head or aerator, and clean as needed to ensure proper water flow.
Decorative Ideas to Complement Your New Style
Now that you’ve successfully upgraded your kitchen faucet, consider adding a few decorative touches to tie the whole look together. A stylish soap dispenser or a colorful dish towel can complement the faucet’s finish and inject even more personality into your cooking space.
You could also swap out cabinet hardware or light fixtures to create a cohesive, modern aesthetic throughout the kitchen. With your new faucet as the centerpiece, the possibilities for refreshing your kitchen’s style are endless.
While faucet installations typically go smoothly, it’s always wise to be prepared for potential hiccups. If you encounter any leaks, drips, or water flow issues after the installation, don’t panic.
- Check that all connections are tight and properly sealed.
- Ensure the shutoff valves are fully open.
- Clean or replace the aerator if it seems clogged.
- Consult the manufacturer’s troubleshooting guide or seek professional help if issues persist.
With a little patience and the right guidance, most faucet-related issues can be resolved, allowing you to enjoy your stylish new kitchen fixture fully.