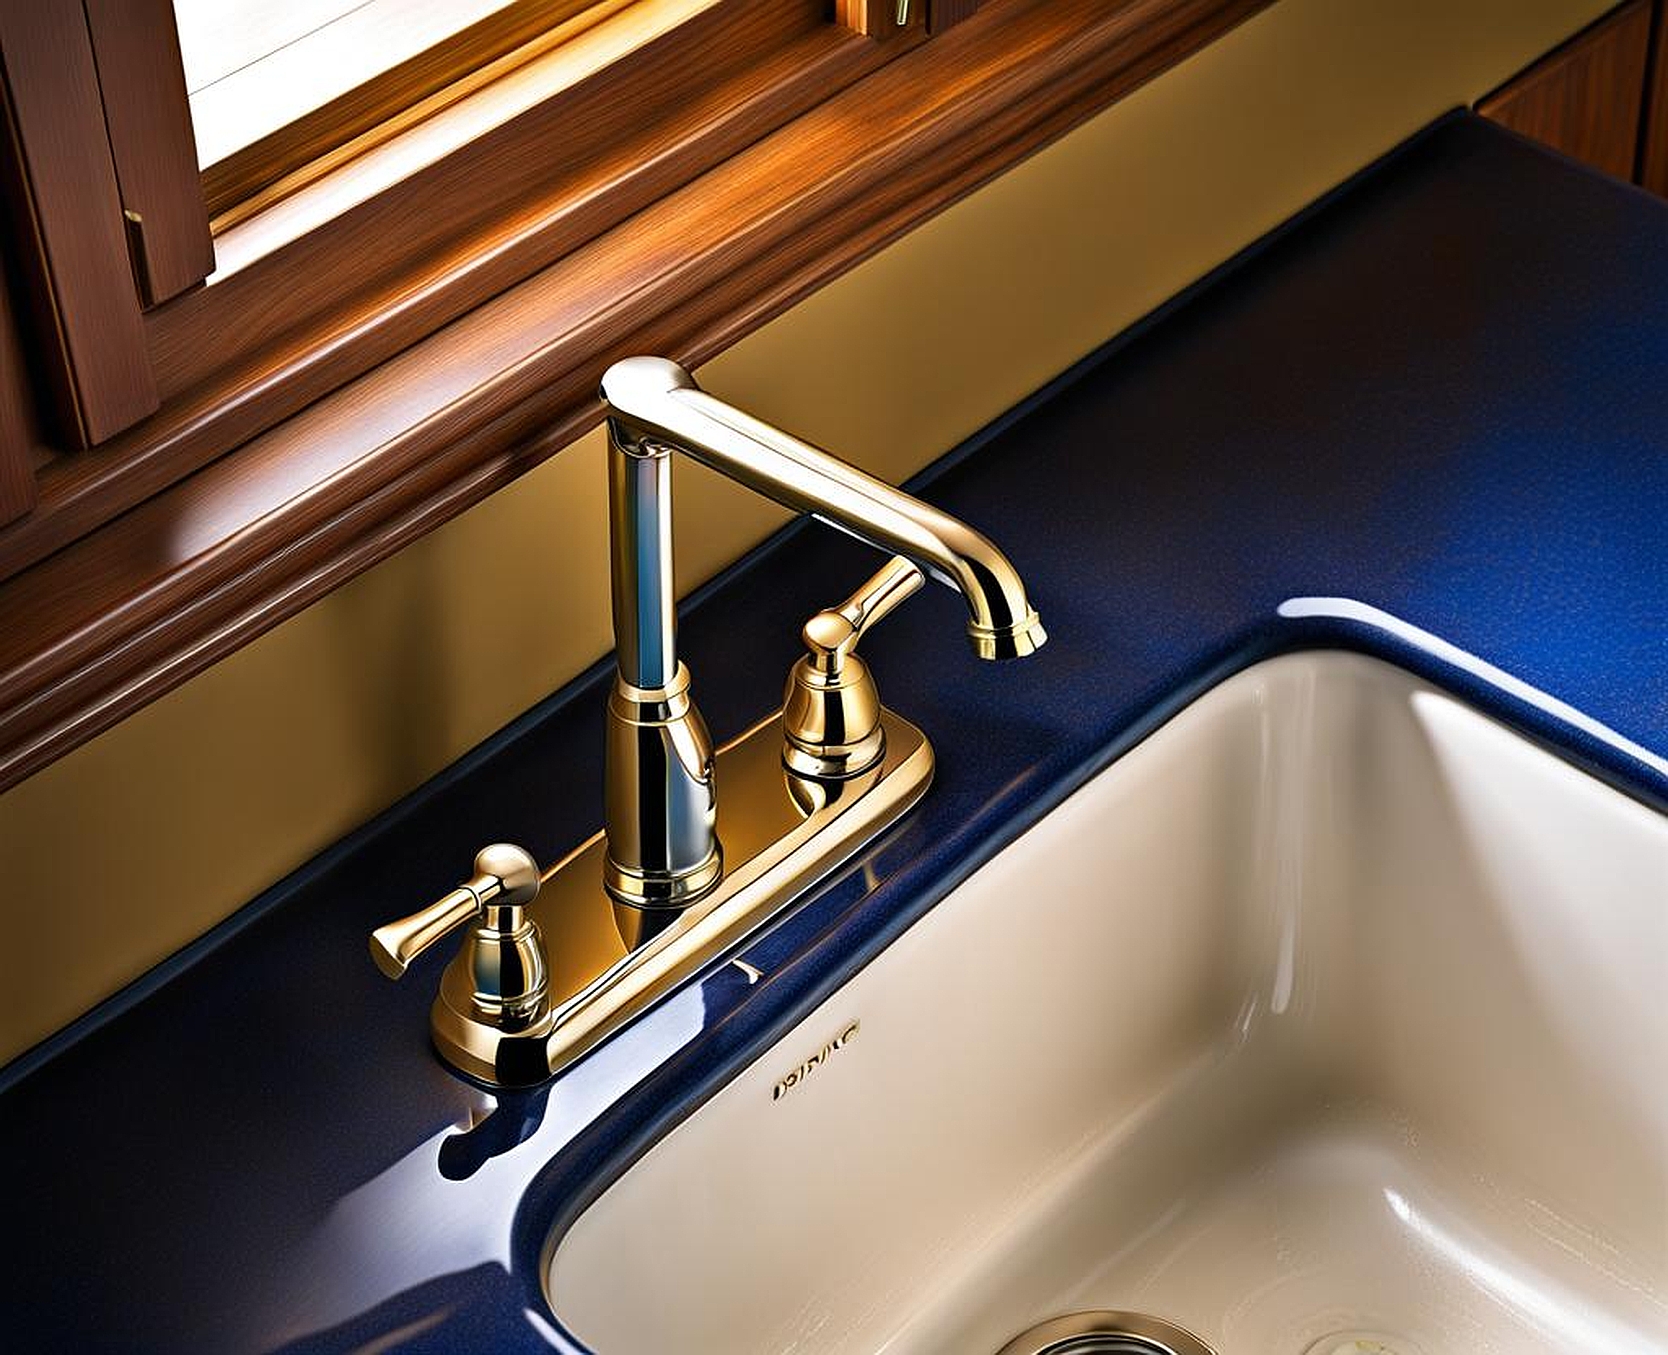
We’ve all been there – turning on the faucet only to find water pooling underneath the sink. A leaky kitchen faucet can be a real headache, but don’t stress! With the right know-how, you can tackle this common plumbing issue like a pro and get that sink back in tip-top shape. So let’s dive in and explore some easy solutions for those pesky “kitchen faucet leaks under sink when turned on” woes.
Common Causes of Kitchen Faucet Leaks Under Sink
Before we get to fixing that leak, it’s helpful to understand what might be causing it in the first place. Faucet leaks can stem from a variety of culprits, such as:
- Worn-out washers or seals: These rubber components can deteriorate over time, allowing water to seep through the faucet’s inner mechanics.
- Loose faucet connections: If the faucet isn’t properly tightened, leaks can occur where it meets the sink or at the water supply line attachments.
- Corroded valve seats or stems: Mineral buildup from hard water can lead to corrosion and leaks within the faucet’s inner workings.
- Aged or damaged supply lines: Old, cracked supply lines may need replacement to stop those dreaded drips.
- High water pressure: Excessive pressure can strain faucet components, causing leaks and premature failure.
Identifying the root cause is key to finding the right fix. But don’t worry, even if you’re not a plumbing pro, many of these issues can be resolved with some basic tools, a bit of elbow grease, and the right guidance.
Signs Your Kitchen Faucet is Leaking Under the Sink
How do you know if your kitchen faucet is springing a leak beneath the sink? Keep an eye out for these telltale signs:
- Puddles or drips collecting under the sink cabinet
- Water stains or warping on the cabinet floor or walls
- Musty, damp odors coming from the cabinet area
- Reduced water pressure or erratic faucet flow when turned on
- Visible drips or moisture around the faucet base or supply line connections
If you notice any of these indicators, it’s time to investigate further. Catching and addressing a leak early can save you from costly water damage and potential mold growth down the line.
Easy Steps to Fix a Leaky Kitchen Faucet Under Sink
Ready to get your hands dirty and banish that leak for good? Here’s a step-by-step guide to tackling a leaky kitchen faucet under the sink:
- Shut off the water supply lines feeding the faucet, usually located under the sink or near the main water shutoff valve.
- Open the faucet to relieve any remaining water pressure in the lines.
- Disassemble the faucet by unscrewing the handle, cap, and other components to expose the stem and valve mechanisms.
- Inspect the washers, O-rings, valve seats, and other internal components for any signs of wear, cracks, or mineral buildup.
- Replace any worn or damaged parts with new, compatible replacements from the hardware store or manufacturer. Be sure to match the size and specifications exactly.
- Clean any corroded or mineral-clogged areas with a mild abrasive or vinegar solution.
- Reassemble the faucet, taking care to properly align and tighten all connections according to manufacturer instructions.
- Turn the water supply back on and check for any remaining leaks. If a leak persists, you may need to readjust or replace additional components.
If the leak persists after following these steps, or if you encounter any complications during disassembly or reassembly, it may be time to call in a professional plumber for more complex repairs or a full faucet replacement.
Preventing Future Kitchen Faucet Leaks From Under the Sink
Once you’ve conquered that pesky leak, you’ll want to take some preventative measures to keep your kitchen faucet in top shape and avoid future leaks. Here are a few tips:
- Regularly inspect and clean the faucet, removing any mineral buildup or debris that could contribute to future leaks or clogs.
- Consider replacing older faucets with newer, more durable models designed to resist leaks and last longer. Look for models with ceramic disc valves or solid brass construction.
- Use water-softening products or filters to reduce mineral content in hard water, which can cause corrosion and buildup over time.
- Be gentle when operating the faucet and avoid excessively tightening or loosening components, which can damage seals and connections.
- Install a pressure-reducing valve if your home’s water pressure exceeds 80 PSI, as high pressure can strain faucet components and lead to leaks.
With a little preventative maintenance and TLC, you can keep your kitchen faucet flowing freely and leak-free for years to come.
Dealing with Persistent or Complex Leaks
In some cases, a kitchen faucet leak may be more stubborn or complex than a DIY fix can handle. Here are a few scenarios where you might want to call in a professional plumber:
- Leaks continue after replacing components: If you’ve followed all the steps and replaced worn parts, but the leak persists, there may be a deeper issue that requires expert diagnosis and repair.
- Corroded or damaged faucet body: If the faucet body itself is corroded, cracked, or otherwise damaged beyond repair, a full replacement may be necessary.
- Leaks originating from pipes or valves: If the leak seems to be coming from the water supply lines or shutoff valves beneath the sink, you may need a plumber to address those broader plumbing issues.
- Outdated or incompatible faucet design: Older faucets or unique designs may require specialized parts or knowledge to repair properly, in which case a professional’s expertise can save you time and frustration.
While many kitchen faucet leaks can be resolved with some DIY effort, don’t hesitate to call in reinforcements if the problem proves too complex or persistent. A skilled plumber can quickly diagnose and resolve even the trickiest of leaks, saving you from potential water damage and ongoing headaches.
If your leaky kitchen faucet is beyond repair, or you simply want to upgrade to a newer, more reliable model, there are a few key factors to consider when choosing a replacement:
- Faucet type and design: Decide whether you want a single-handle, double-handle, pull-down, or hands-free faucet based on your needs and kitchen layout.
- Finish and style: Pick a finish (chrome, brushed nickel, etc.) and style that complements your kitchen’s overall aesthetic.
- Faucet height and reach: Ensure the new faucet has sufficient height and reach to clear your sink and accommodate your needs.
- Valve type: Look for faucets with ceramic disc valves, which are more durable and less prone to leaks than traditional compression valves.
- Installation requirements: Consider whether you need a faucet with a specific number of holes or mounting configuration to fit your existing sink.
Taking the time to research and select the right replacement kitchen faucet can save you from future leaks and ensure a seamless, long-lasting installation that enhances your kitchen’s functionality and style.
