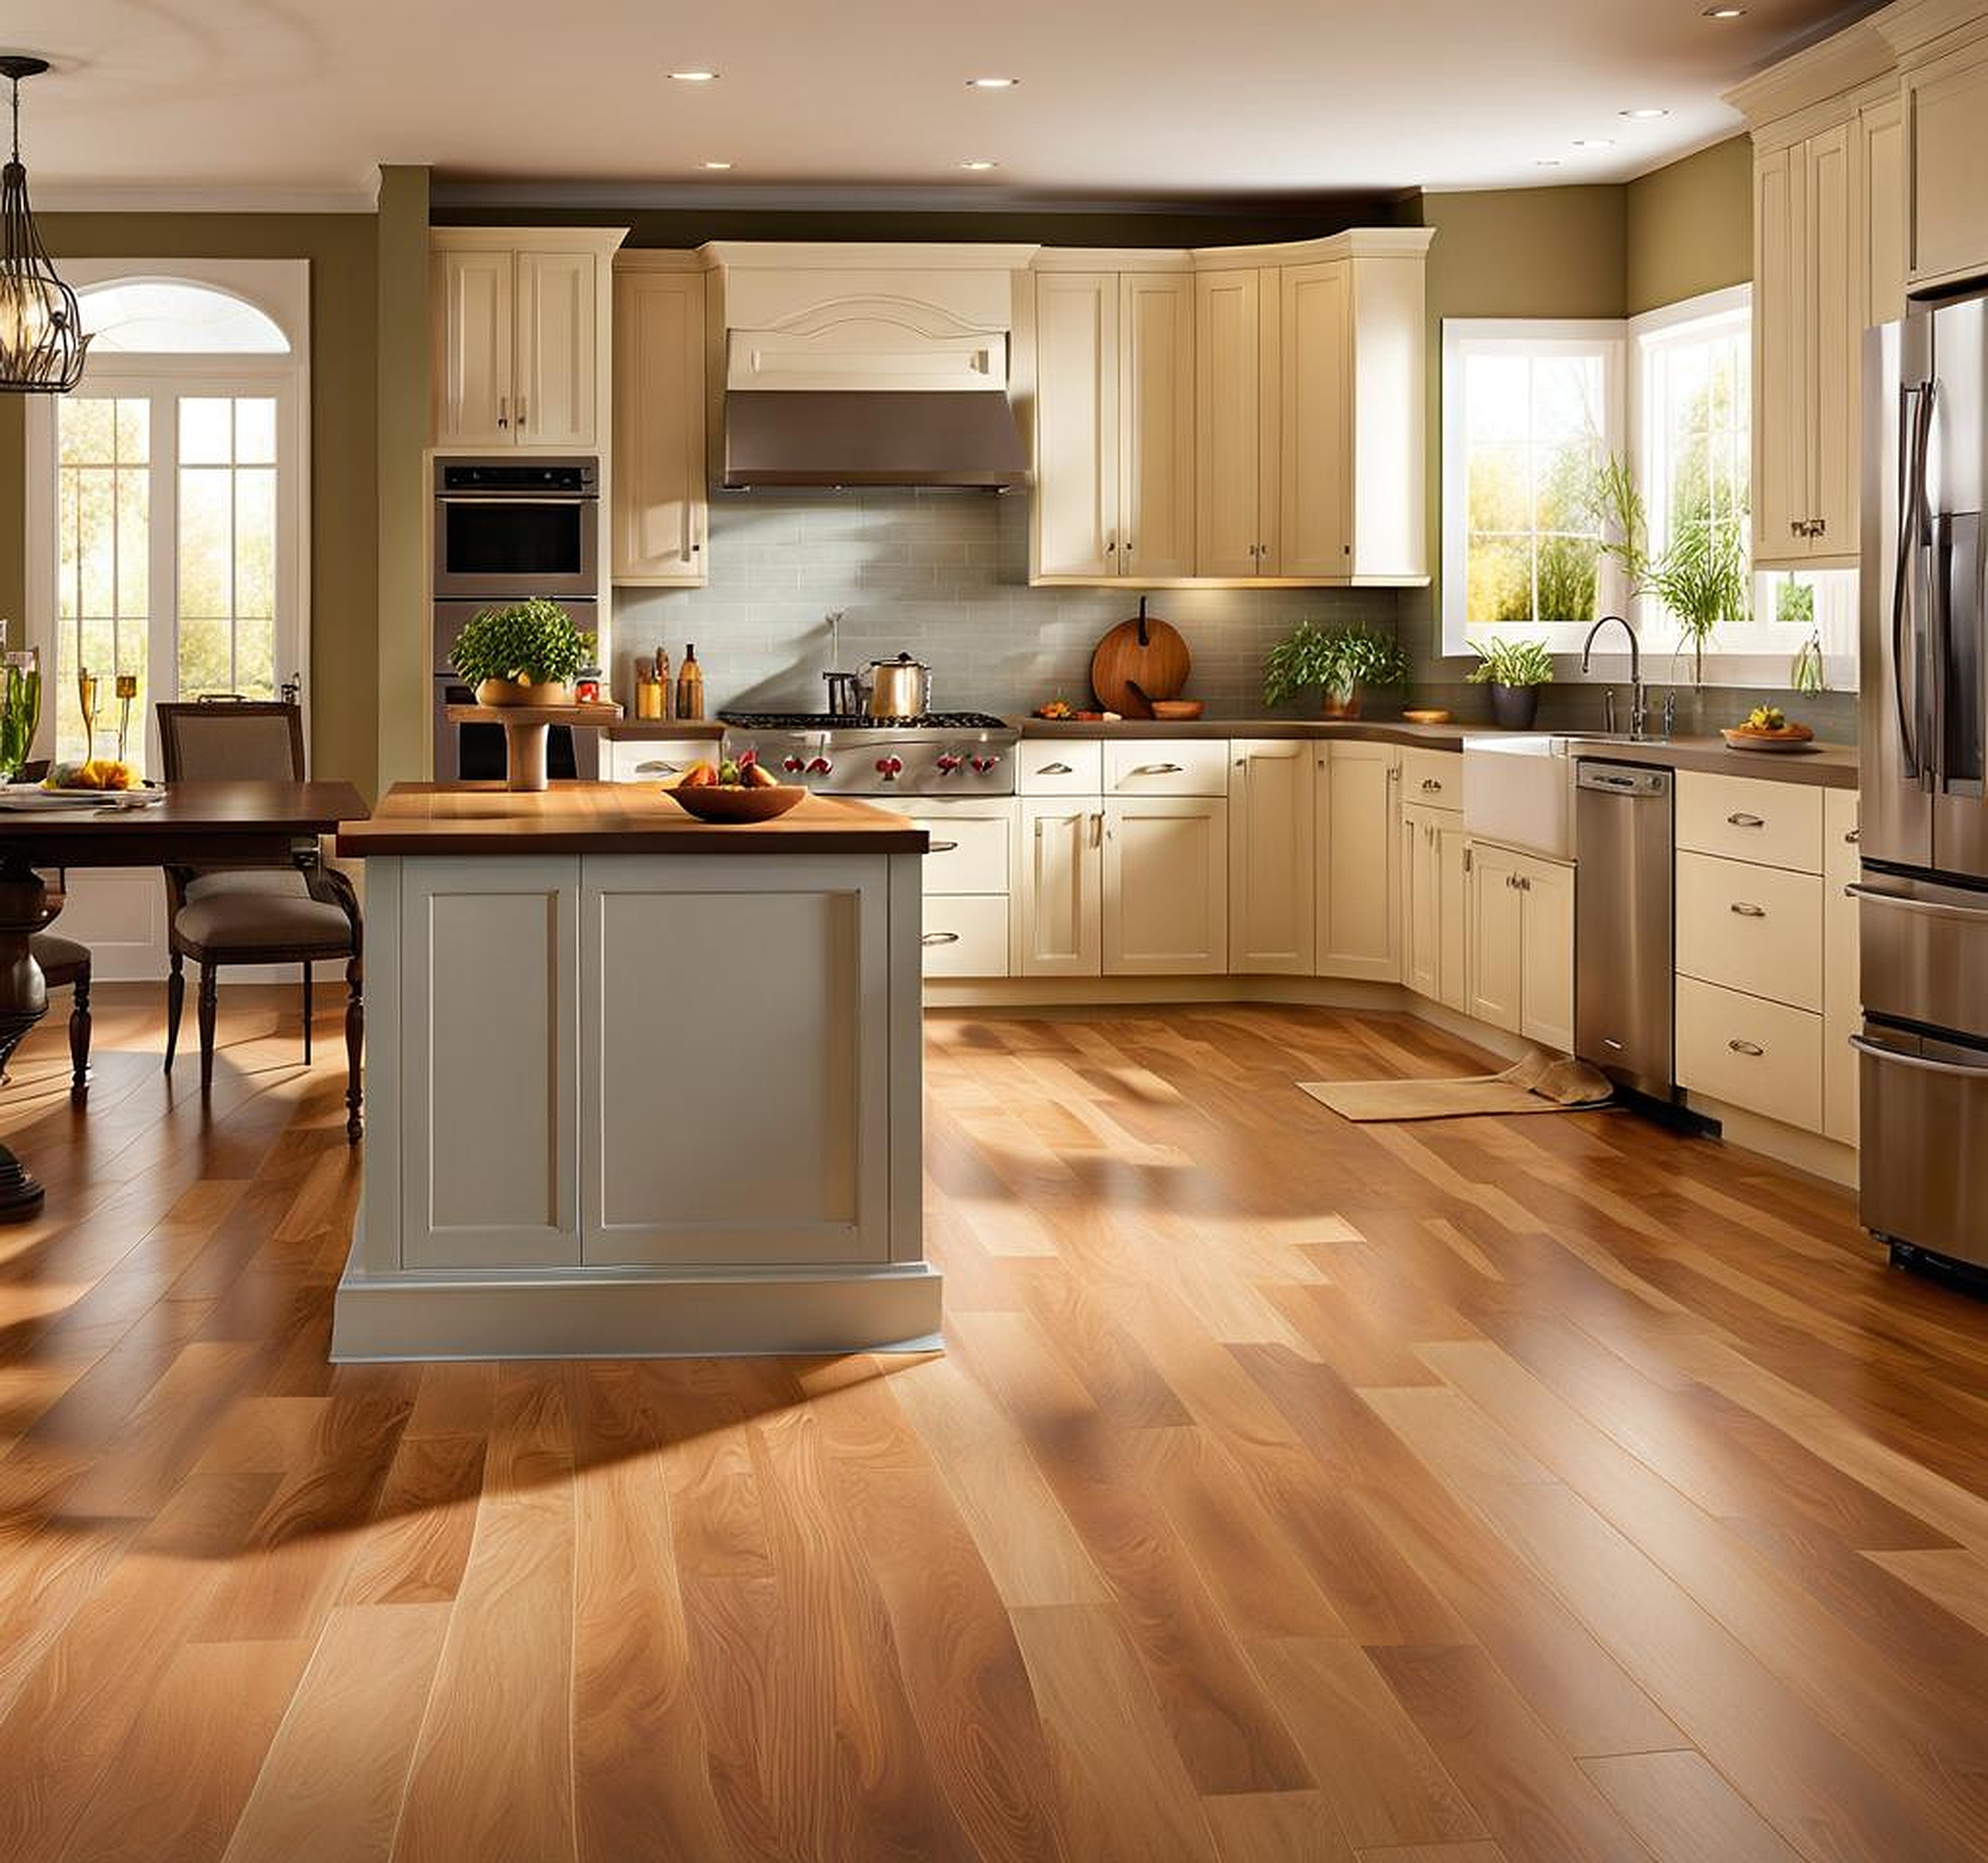
Your kitchen’s look doesn’t have to be a complete remake. Replacing the floor can breathe new life into the space while leaving your existing cabinets intact, saving you time and money.
Benefits of Replacing Kitchen Floor Without Removing Cabinets
Opting to replace your kitchen floor without disrupting the cabinets offers several advantages. First and foremost, it’s a cost-effective solution for refreshing the space. Keeping the cabinets in place eliminates the need for costly cabinet removal, reinstallation, and potential adjustments. This approach also minimizes disruption to your daily routine, as you can continue using your kitchen throughout the process.
Moreover, preserving your existing cabinets ensures that their integrity remains intact, reducing the risk of potential damage during removal and reinstallation. This is particularly beneficial if you have custom or high-end cabinets that would be expensive to replace. By leaving them undisturbed, you can maintain the cohesive look and functionality of your kitchen while enjoying the benefits of a brand-new floor.
Preparation Steps for Floor Replacement
Before embarking on your kitchen floor replacement project, proper preparation is crucial. Start by clearing the area of any furniture, appliances, or other items that may obstruct the installation process. Next, protect your cabinets by covering them with plastic sheeting or drop cloths to prevent dust and debris from settling on them during the renovation.
Inspect the existing subfloor for any necessary repairs or leveling. If you encounter any issues, such as uneven surfaces or damage, address them before proceeding with the new flooring installation. This step ensures a smooth and stable surface for your new floors, preventing potential problems down the line.
Once the space is cleared and the subfloor is prepared, it’s time to select your new flooring materials and gather the necessary tools. Consider the durability, water resistance, and aesthetic appeal of different flooring options to find the best fit for your kitchen.

Flooring Options for Kitchen Floor Replacement
When it comes to replacing your kitchen floor, you have a variety of materials to choose from, each offering unique advantages:
- Laminate flooring: Known for its durability and easy installation, laminate flooring is a popular choice for kitchens. It’s water-resistant and can mimic the look of hardwood or tile at a more affordable price point.
- Luxury vinyl planks (LVP): LVP is a waterproof flooring option that provides the realistic appearance of hardwood or stone. It’s a versatile choice that can withstand the demands of a busy kitchen.
- Engineered hardwood: For those who prefer the natural beauty of hardwood, engineered hardwood floors offer a practical solution. They are more resistant to moisture than solid hardwood and can be installed directly over concrete subfloors.
- Tile: Tile flooring is a classic choice for kitchens, renowned for its versatility, low maintenance, and moisture resistance. From ceramic to porcelain, you can find tiles that complement your kitchen’s aesthetic.
Consider factors like your budget, lifestyle, and design preferences when selecting the best flooring material for your kitchen renovation.
Step-by-Step Installation Process
With proper preparation and the right materials, you can confidently tackle the installation process. Begin by carefully removing the existing flooring while ensuring that your cabinets remain undisturbed. This may involve using pry bars or other tools to lift and remove the old flooring material.
Once the old flooring is removed, take the time to thoroughly clean and prepare the subfloor. This may involve sanding, patching, or leveling the surface to ensure a smooth and even base for your new flooring installation.
If required, install an appropriate underlayment to provide additional moisture protection, sound insulation, or a stable foundation for your new flooring material. Follow the manufacturer’s instructions carefully during this step.
With the subfloor and underlayment prepared, you can begin installing your new flooring around the cabinets. Pay close attention to measurements and layout planning to ensure a seamless fit and minimize waste. For a polished look, trim and finish the edges where the flooring meets the cabinets, using transition pieces or moldings as needed.
Tips and Tricks for a Successful Installation
To ensure a successful kitchen floor replacement without removing cabinets, keep these helpful tips and tricks in mind:
- Proper measurements and layout planning: Measure your space accurately and plan the layout of your new flooring to minimize cuts and waste. Consider factors like appliance placement and cabinet configurations.
- Handling transitions and thresholds: When transitioning between rooms or different flooring materials, use appropriate transition strips or moldings to create a seamless and professional look.
- Dealing with appliances and other obstacles: If you need to work around appliances or other obstacles, be prepared to carefully cut the flooring material to fit. Take precise measurements and use appropriate tools for a clean, precise cut.
Additionally, consider seeking professional assistance if you encounter any challenges or feel uncertain about the installation process. A skilled contractor or flooring specialist can ensure a flawless outcome and provide valuable guidance.
Once your new kitchen floor is installed, proper care and maintenance are essential to ensure its longevity and preserve its beautiful appearance. Follow the manufacturer’s recommended cleaning and maintenance guidelines for your specific flooring material.
To protect your new floors from scratches and dents, consider using floor mats or rugs in high-traffic areas. Additionally, be mindful of dropped objects or heavy furniture that could potentially damage the surface.
If you encounter any issues or need repairs, address them promptly to prevent further damage. Small scratches or dents can often be repaired with the appropriate touch-up products or techniques, helping to maintain the pristine look of your new kitchen floor.
By following these tips and embracing a proactive approach to care and maintenance, you can enjoy the beauty and functionality of your newly installed kitchen floor for years to come.