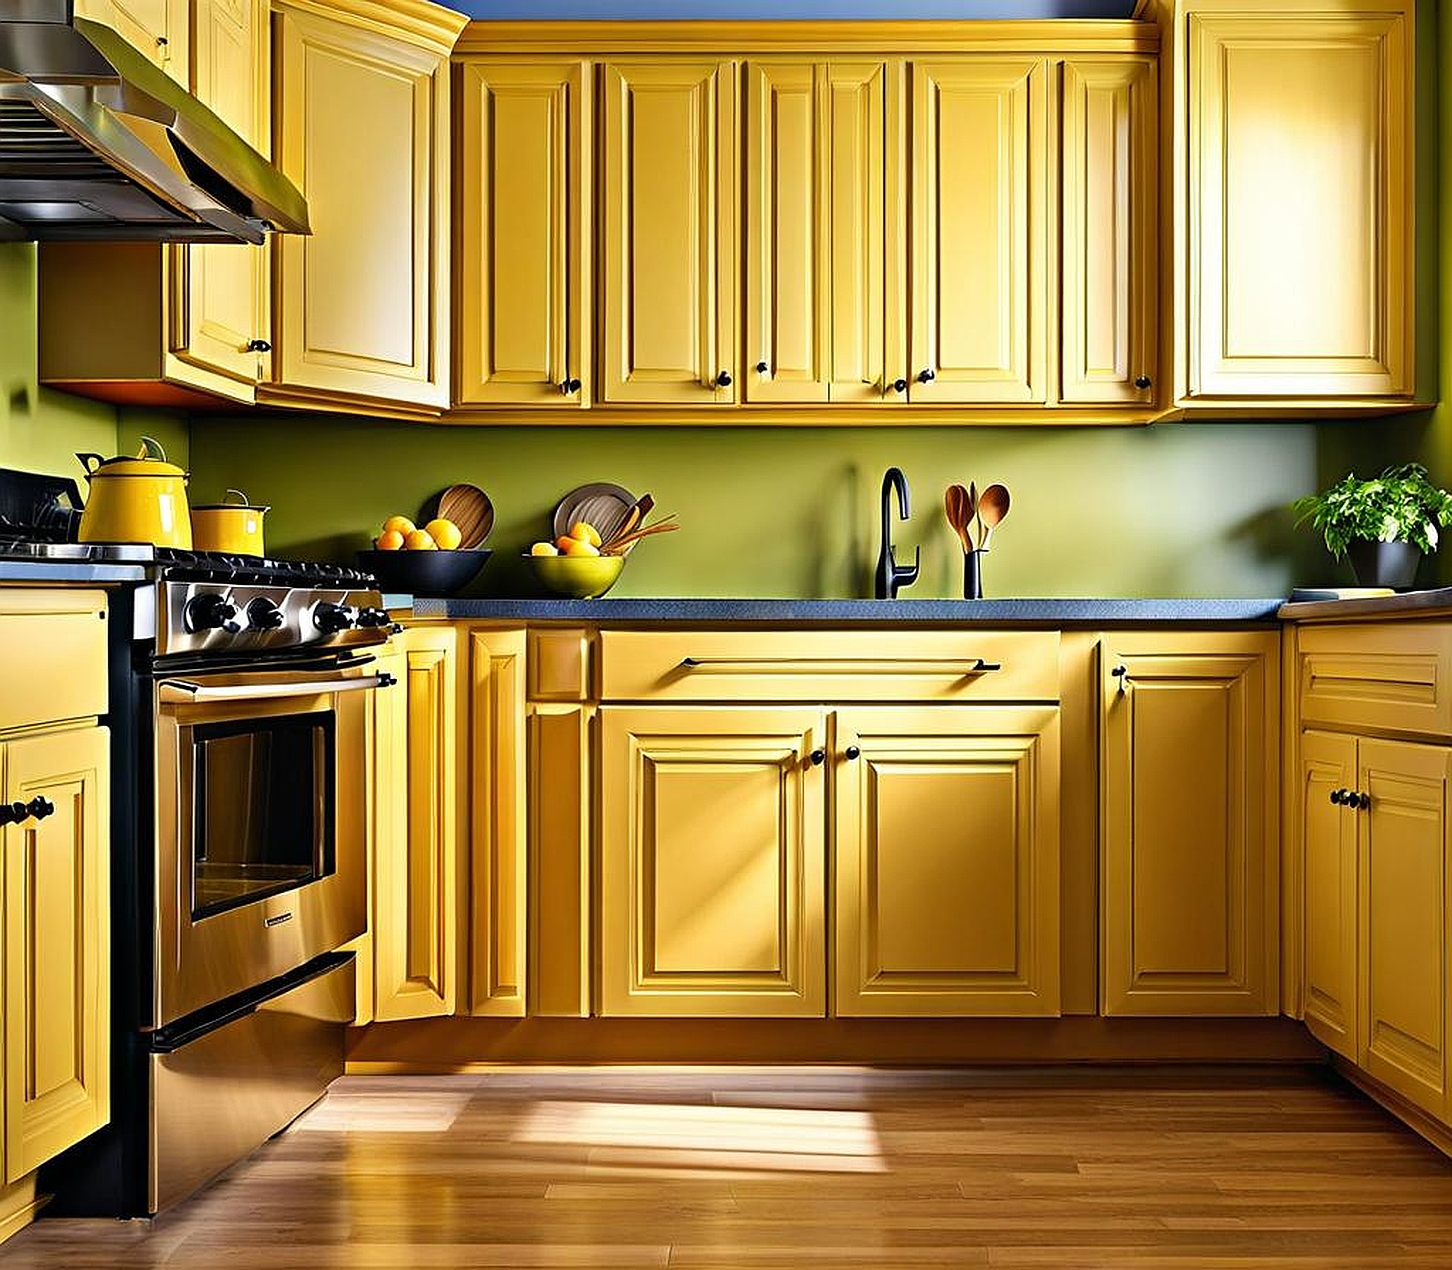
Giving your kitchen a fresh, modern vibe doesn’t have to mean a complete overhaul – sometimes, all it takes is a simple cabinet facelift. Painting over painted kitchen cabinets is an affordable and impactful way to breathe new life into your cooking space, instantly transforming its aesthetic without breaking the bank. By following the right steps and incorporating some creative design elements, you can achieve a stunning, on-trend look that will leave your kitchen feeling like a whole new room.
Preparing Painted Kitchen Cabinets for a New Coat
Before you can dive into the fun of selecting colors and finishes, proper preparation is key to ensuring a smooth, long-lasting paint job. Start by thoroughly cleaning and degreasing the existing cabinet surfaces, as any lingering grime or residue can prevent the new paint from adhering properly. Once clean, lightly sand the cabinets to rough up the surface and create a “tooth” for the new paint to grip onto. If you encounter any cracks, dents, or damage during this process, be sure to repair them before moving forward.
Sanding is arguably the most crucial step in this process, as it will determine the overall smoothness and durability of your new paint job. For best results, use a fine-grit sandpaper (120-grit or higher) and sand in the direction of the wood grain. Pay extra attention to any areas with drips, bumps, or existing chipped paint, as these need to be thoroughly smoothed out. Once you’ve finished sanding, wipe away any dust or debris with a clean, dry cloth.
Selecting the Right Paint for Painted Cabinets
With your cabinets properly prepped, it’s time to choose the perfect paint for your project. When it comes to kitchen cabinets, not all paints are created equal – you’ll want to select a product that is specifically designed for high-traffic, moisture-rich environments like the kitchen. Oil-based paints, latex paints, and chalk paints are all viable options, each with their own unique advantages and disadvantages.
- Oil-based paints are exceptionally durable and resistant to moisture, grease, and scuffs, making them a popular choice for kitchen cabinetry. However, they can be more challenging to apply and clean up, and they tend to emit a strong odor during the drying process.
- Latex paints, on the other hand, are generally easier to work with and emit fewer fumes. They dry quickly and can be cleaned up with just soap and water. That said, they may not be quite as long-lasting or durable as their oil-based counterparts.
- Chalk paint is a relatively new player in the cabinet painting game, but it has quickly gained popularity for its velvety smooth finish and easy application. It adheres well to most surfaces (including existing paint) without the need for extensive sanding or priming, making it a convenient choice for cabinet makeovers.
When selecting your paint, also consider factors like sheen level (satin and semi-gloss are popular choices for kitchens), color options, and proven brand reputations. Top brands like Benjamin Moore, Sherwin-Williams, and Farrow & Ball are known for their high-quality cabinet paints that deliver beautiful, long-lasting results.

Step-by-Step Guide to Painting Over Painted Cabinets
With your surfaces prepared and your paint selected, it’s time to get to work on the actual painting process. For best results, start by applying a high-quality bonding primer designed specifically for use on previously painted surfaces. This will help the new paint adhere properly and ensure an even, flawless finish.
When it comes to application method, you have two main options: brush painting or spray painting. Brush painting is the more traditional (and often more affordable) route, but it can be time-consuming and may leave visible brush strokes in the finish. Spray painting, on the other hand, delivers a smoother, more uniform finish – but it requires specialized equipment and a bit more preparation to protect surrounding areas from overspray.
Regardless of your chosen application method, be sure to apply the paint in thin, even coats, allowing each coat to dry completely before adding the next. Most cabinet painting projects will require at least two coats of paint for full, even coverage, but you may need to add a third coat in areas with significant color or sheen differences from the previous finish.
Once your cabinets have been freshly painted, it’s time to style them and complete the look of your revitalized kitchen. When it comes to color trends, neutrals like white, gray, and greige remain ever-popular choices for their clean, timeless appeal. But don’t be afraid to experiment with bolder hues as well – rich blues, warm terracottas, and sage greens can all lend a lovely depth and character to your cooking space.
To complement your new cabinet color, consider updating the hardware with sleek new knobs or pulls. Simple, streamlined designs in brushed nickel or matte black finishes can provide a modern touch, while vintage-inspired glass or ceramic knobs can infuse a bit of old-world charm. You can even mix and match knob styles for an eclectic, layered look.
Finally, tie the whole space together with thoughtful styling touches that highlight your revitalized cabinets. Add a few well-placed accessories, like a vase of fresh flowers or a stylish tray for corralling everyday items. Incorporate textural elements through woven baskets, patterned dish towels, or a plush kitchen rug. And don’t forget about lighting – updating your cabinet lighting with new under-cabinet fixtures or pendant lights can truly make your new paint job shine.
With a bit of elbow grease, creativity, and these expert tips, you can transform your kitchen from drab to fab simply by painting over those existing cabinets. Embrace this budget-friendly makeover as an opportunity to let your personal style shine through, crafting a cooking space that not only looks on-trend but feels like a true reflection of you.