Are you tired of staring at that dull, outdated textured ceiling? Painting it with a roller can be a game-changer, transforming the entire look and feel of your space. But before you start rolling, it’s essential to understand the art of painting textured ceilings to achieve a flawless, professional-looking finish.
Essential Tools and Materials for Painting a Textured Ceiling with a Roller
Before embarking on your textured ceiling painting project, it’s crucial to have the right tools and materials on hand. First and foremost, you’ll need a high-quality roller specifically designed for textured surfaces. These rollers feature a thick nap that can effectively grip and distribute paint onto the uneven surface. A good option is a 3/4-inch or 1-inch nap roller, depending on the depth of your ceiling’s texture.
In addition to the roller, you’ll need a sturdy extension pole to reach those hard-to-access areas, a paint tray (preferably with a deep well to hold ample paint), and a good quality angled brush for cutting in around edges and corners. Don’t forget to purchase high-quality paint formulated for ceilings, as well as a paint stirrer and a drop cloth or plastic sheeting to protect your floors and furniture.
Step-by-Step Guide: How to Paint a Textured Ceiling with a Roller
Now that you have all the necessary tools and materials, it’s time to dive into the step-by-step process of painting your textured ceiling with a roller:
- Prepare the surface by cleaning it thoroughly with a damp cloth or a vacuum cleaner attachment designed for ceilings. This will remove any dust, cobwebs, or debris that could interfere with the paint’s adhesion.
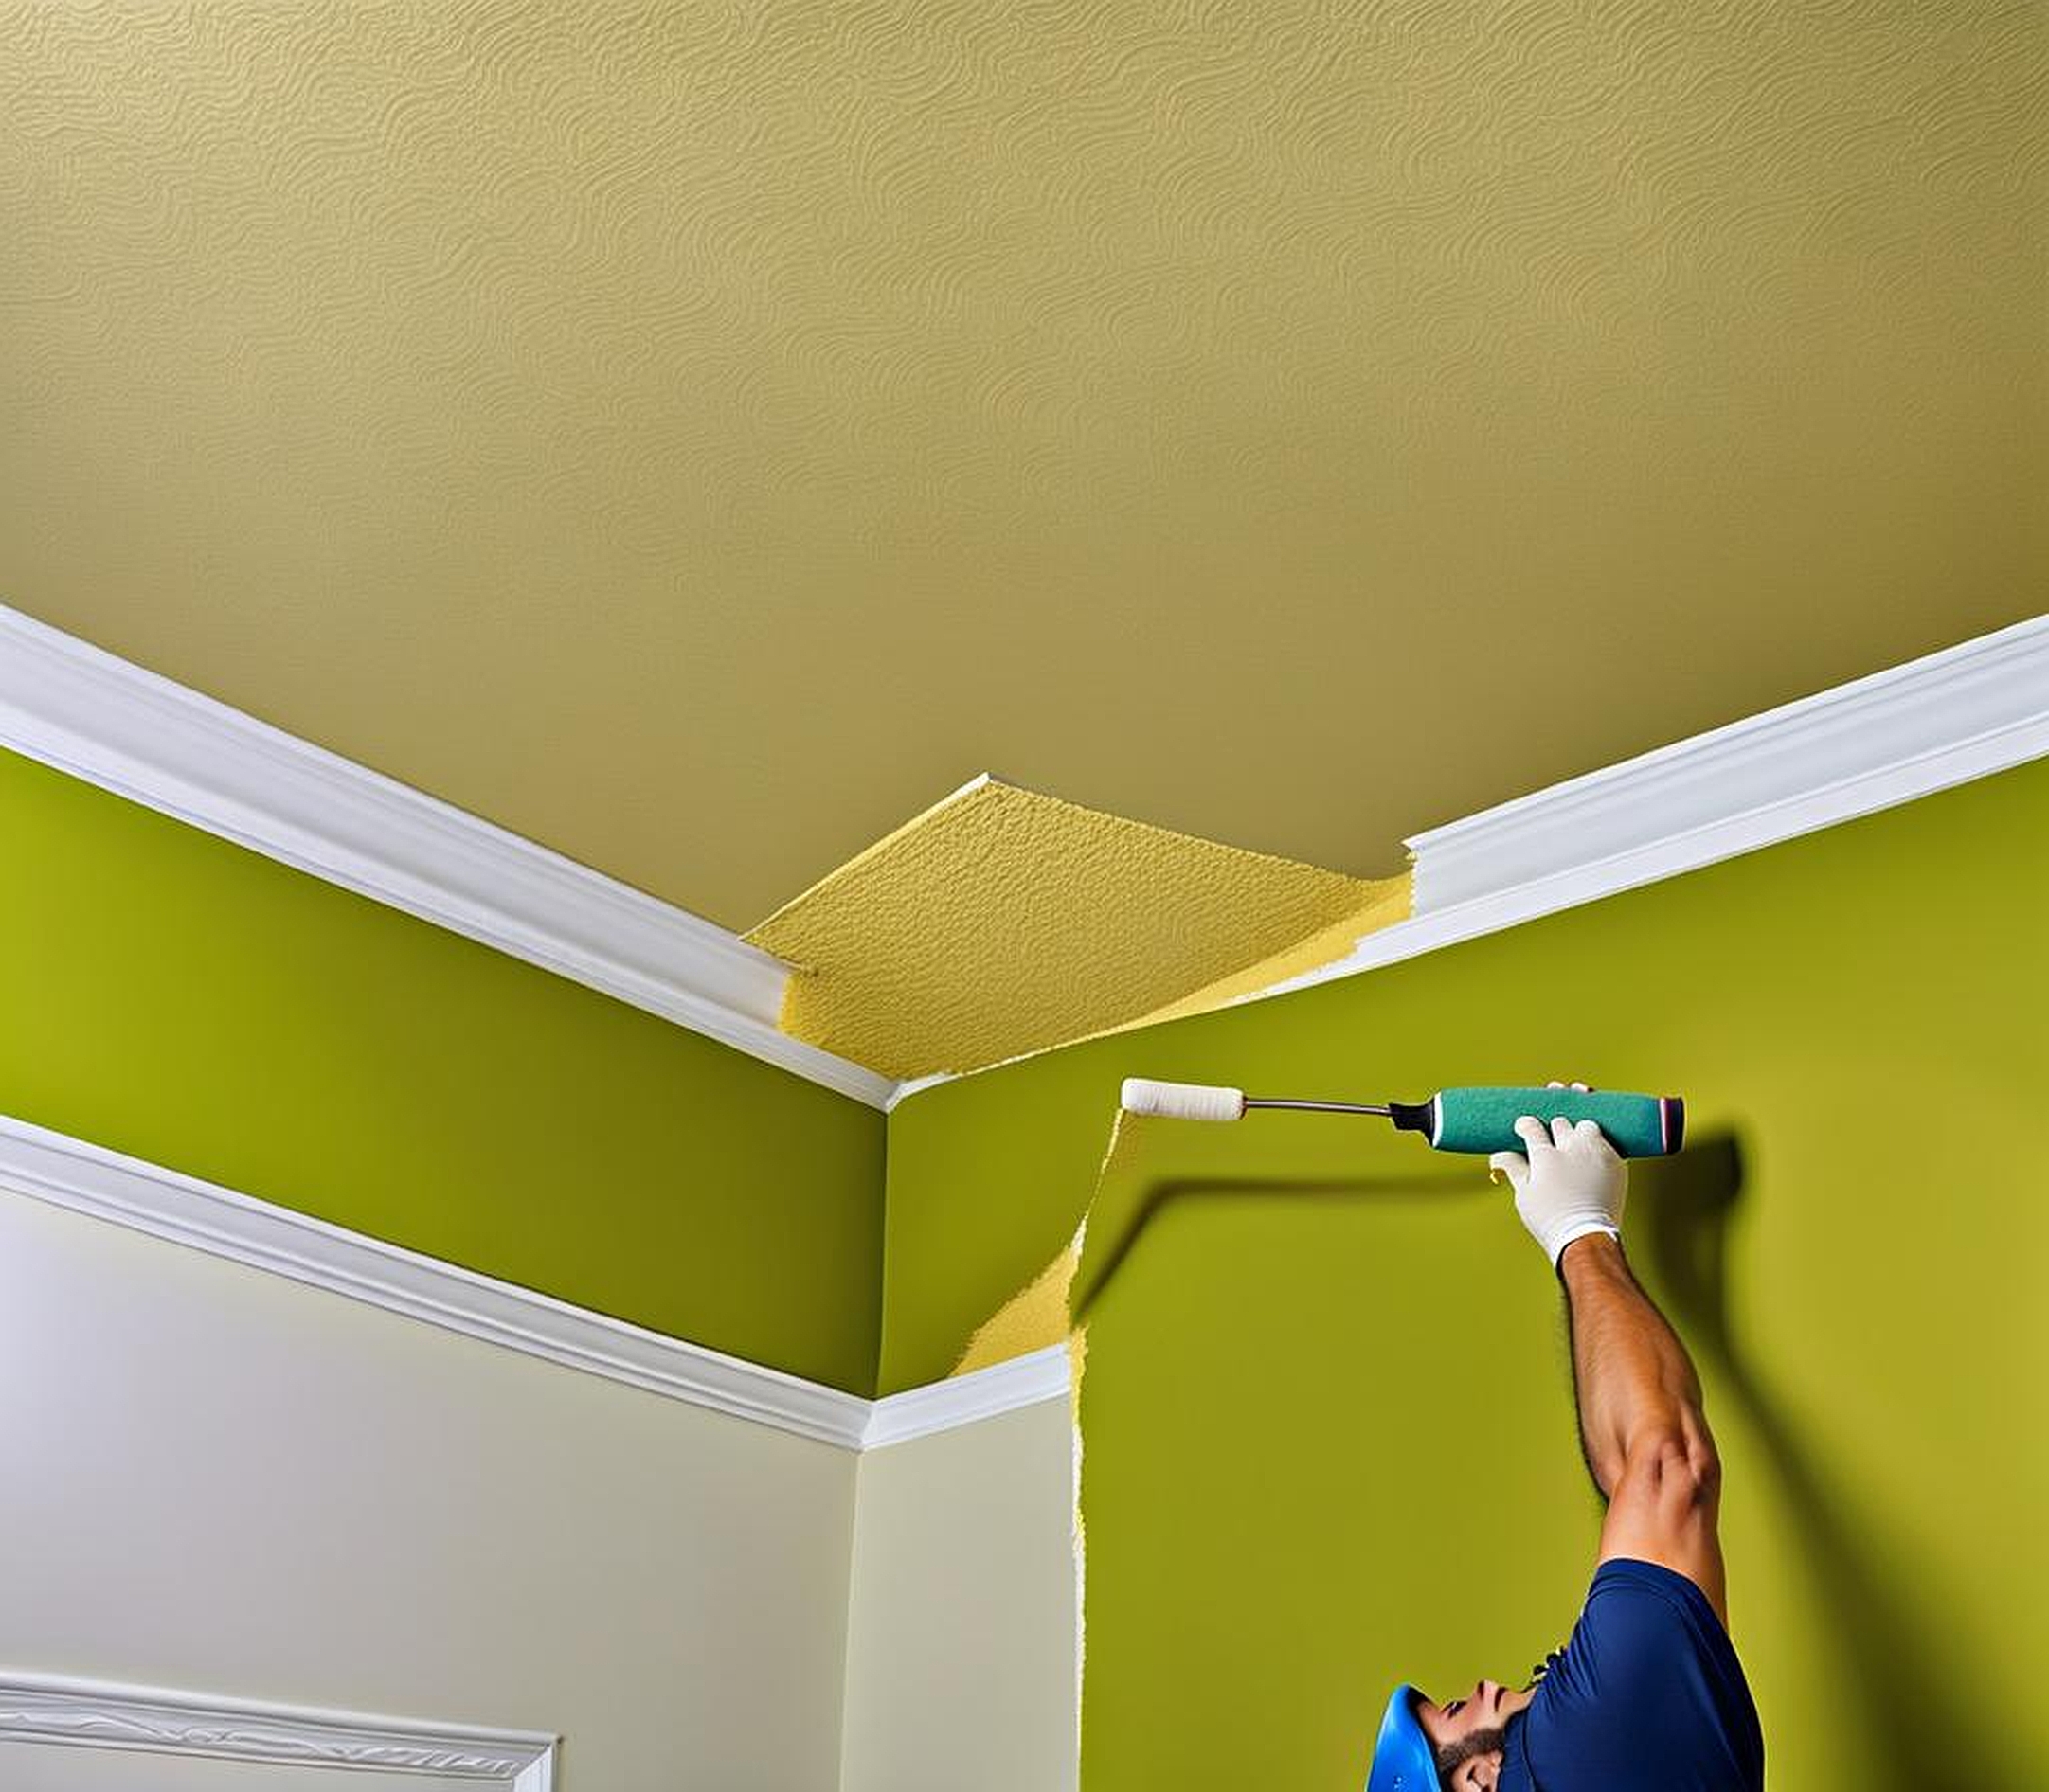
- Use an angled brush to cut in along the edges and corners of the ceiling, ensuring a clean, crisp line where the ceiling meets the walls.
- Pour your ceiling paint into the tray, being careful not to overfill it. Dip the roller into the paint, rolling it back and forth to evenly load the nap.
- Start painting in one corner of the room, applying the paint in a zigzag or “W” pattern. This technique will help distribute the paint evenly and prevent lap marks.
- As you roll, apply firm pressure to ensure the paint penetrates the textured surface. Maintain a wet edge by overlapping each stroke slightly with the previous one.
- Once you’ve covered the entire ceiling, let the first coat dry completely according to the manufacturer’s instructions before applying a second coat for optimal coverage and a smooth, even finish.
Tips for Achieving a Flawless Finish
While the basic process of painting a textured ceiling with a roller may seem straightforward, there are a few tips and tricks that can help you achieve a truly flawless finish:
- Adjust the paint’s viscosity: If the paint seems too thick or difficult to roll onto the textured surface, you can thin it slightly with a small amount of water or a paint conditioner. This will improve its workability and help it better adhere to the ceiling texture.
- Dealing with different textures: Different types of ceiling textures may require different rolling techniques. For example, a heavily textured “popcorn” ceiling may require a more stippling motion with the roller to adequately coat the surface.
- Apply multiple coats: Don’t skimp on the number of coats. Textured ceilings often require two or even three coats of paint to achieve full, even coverage.
- Allow proper drying time: Pay close attention to the recommended drying time between coats, as rushing this step can lead to uneven coverage or paint peeling.
Troubleshooting Common Issues
Even with the best preparation and techniques, you may encounter some common issues when painting textured ceilings with a roller. Here’s how to troubleshoot them:
| Issue | Solution |
|---|---|
| Paint drips and runs | Immediately blot any drips or runs with a clean, dry cloth or paper towel. If the paint has already dried, you may need to lightly sand the area and touch it up with a brush. |
| Uneven coverage or missed spots | Once the paint has fully dried, inspect the ceiling closely and touch up any areas with a brush, ensuring full coverage. |
| Paint drying too quickly | Add a paint conditioner or extender to the paint, which will slow down the drying time and give you more working time. Also, ensure proper ventilation to prevent the paint from drying too quickly. |
Safety Precautions and Cleanup
Painting a textured ceiling can be a messy endeavor, so it’s essential to take the necessary safety precautions and properly clean up afterward:
- Ensure proper ventilation by opening windows or using fans to circulate air. Prolonged exposure to paint fumes can be harmful.
- Wear protective equipment such as safety glasses, a respirator mask, and gloves to prevent skin and eye irritation.
- Carefully dispose of any leftover paint, rags, or other materials according to local regulations to protect the environment.
- Thoroughly clean your tools with soap and water or the appropriate solvent, depending on the type of paint used.
While painting a textured ceiling with a simple, solid color is a classic choice, there are endless creative possibilities to explore. Here are a few ideas to inspire you:
- Incorporate different paint colors or patterns: Consider painting a bold accent color on the ceiling or creating a unique pattern by using a stencil or sponging technique.
- Combine textured and smooth sections: If you have a smooth ceiling in one room and a textured ceiling in another, you can create an interesting contrast by painting them in complementary colors or finishes.
- Achieve unique finishes: Experiment with specialized tools or techniques, such as dry-brushing or using a rag-rolling technique, to create a distinct, textured finish.
Painting a textured ceiling with a roller may seem daunting at first, but with the right tools, techniques, and a little creativity, you can transform your space into a stunning masterpiece. Remember to take your time, follow best practices, and don’t be afraid to experiment. Happy painting!
