A floating vanity has never been easier to use. This sleek and modern addition not only adds a touch of sophistication but also maximizes space in even the smallest of bathrooms. Join me as we explore the captivating world of floating vanities and unlock the secrets to crafting your very own masterpiece.
Preparation Phase: Essentials for Building a Floating Vanity
Before diving into the construction phase, it’s crucial to gather the necessary tools and materials. Start by measuring the designated area to determine the ideal size for your floating vanity. Carefully consider the available wall space, ensuring a proper fit without compromising functionality or aesthetics.
Next, compile a comprehensive list of required materials. High-quality plywood or solid wood boards form the foundation, while sturdy hardware such as brackets, screws, and anchors provide the necessary support. Don’t forget to factor in the vanity top, whether it’s a sleek countertop or a vessel sink, and select complementary finishes like faucets and cabinet handles.
Proper planning is key to a successful project. Visualize the final product and create detailed sketches or consult online tutorials to ensure a seamless execution. With all the essentials in place, you’re ready to embark on the construction journey.
Construction Techniques: Step-by-Step Guide to Assembling Your Floating Vanity
Roll up your sleeves and embrace the craftsmanship as we delve into the construction phase. Begin by meticulously marking and cutting the plywood or wood boards to the desired dimensions. Precision is paramount, as even the slightest miscalculation can compromise the structural integrity and visual appeal of your floating vanity.
Once the pieces are cut, it’s time to assemble the frame. Secure the sides, bottom, and back panels using wood glue and reinforcing screws for a sturdy foundation. Pay close attention to the alignment and ensure a snug fit, as this will dictate the overall sturdiness of your vanity.
With the frame in place, it’s time to focus on the aesthetic elements. Sand the surfaces until they’re smooth and ready for staining or painting. Choose a finish that complements your bathroom’s existing decor, or opt for a bold contrast to make a statement. Experiment with different techniques, such as distressing or glazing, to achieve a unique and personalized look.
Design Inspirations: Stunning Floating Vanity Ideas to Suit Your Style
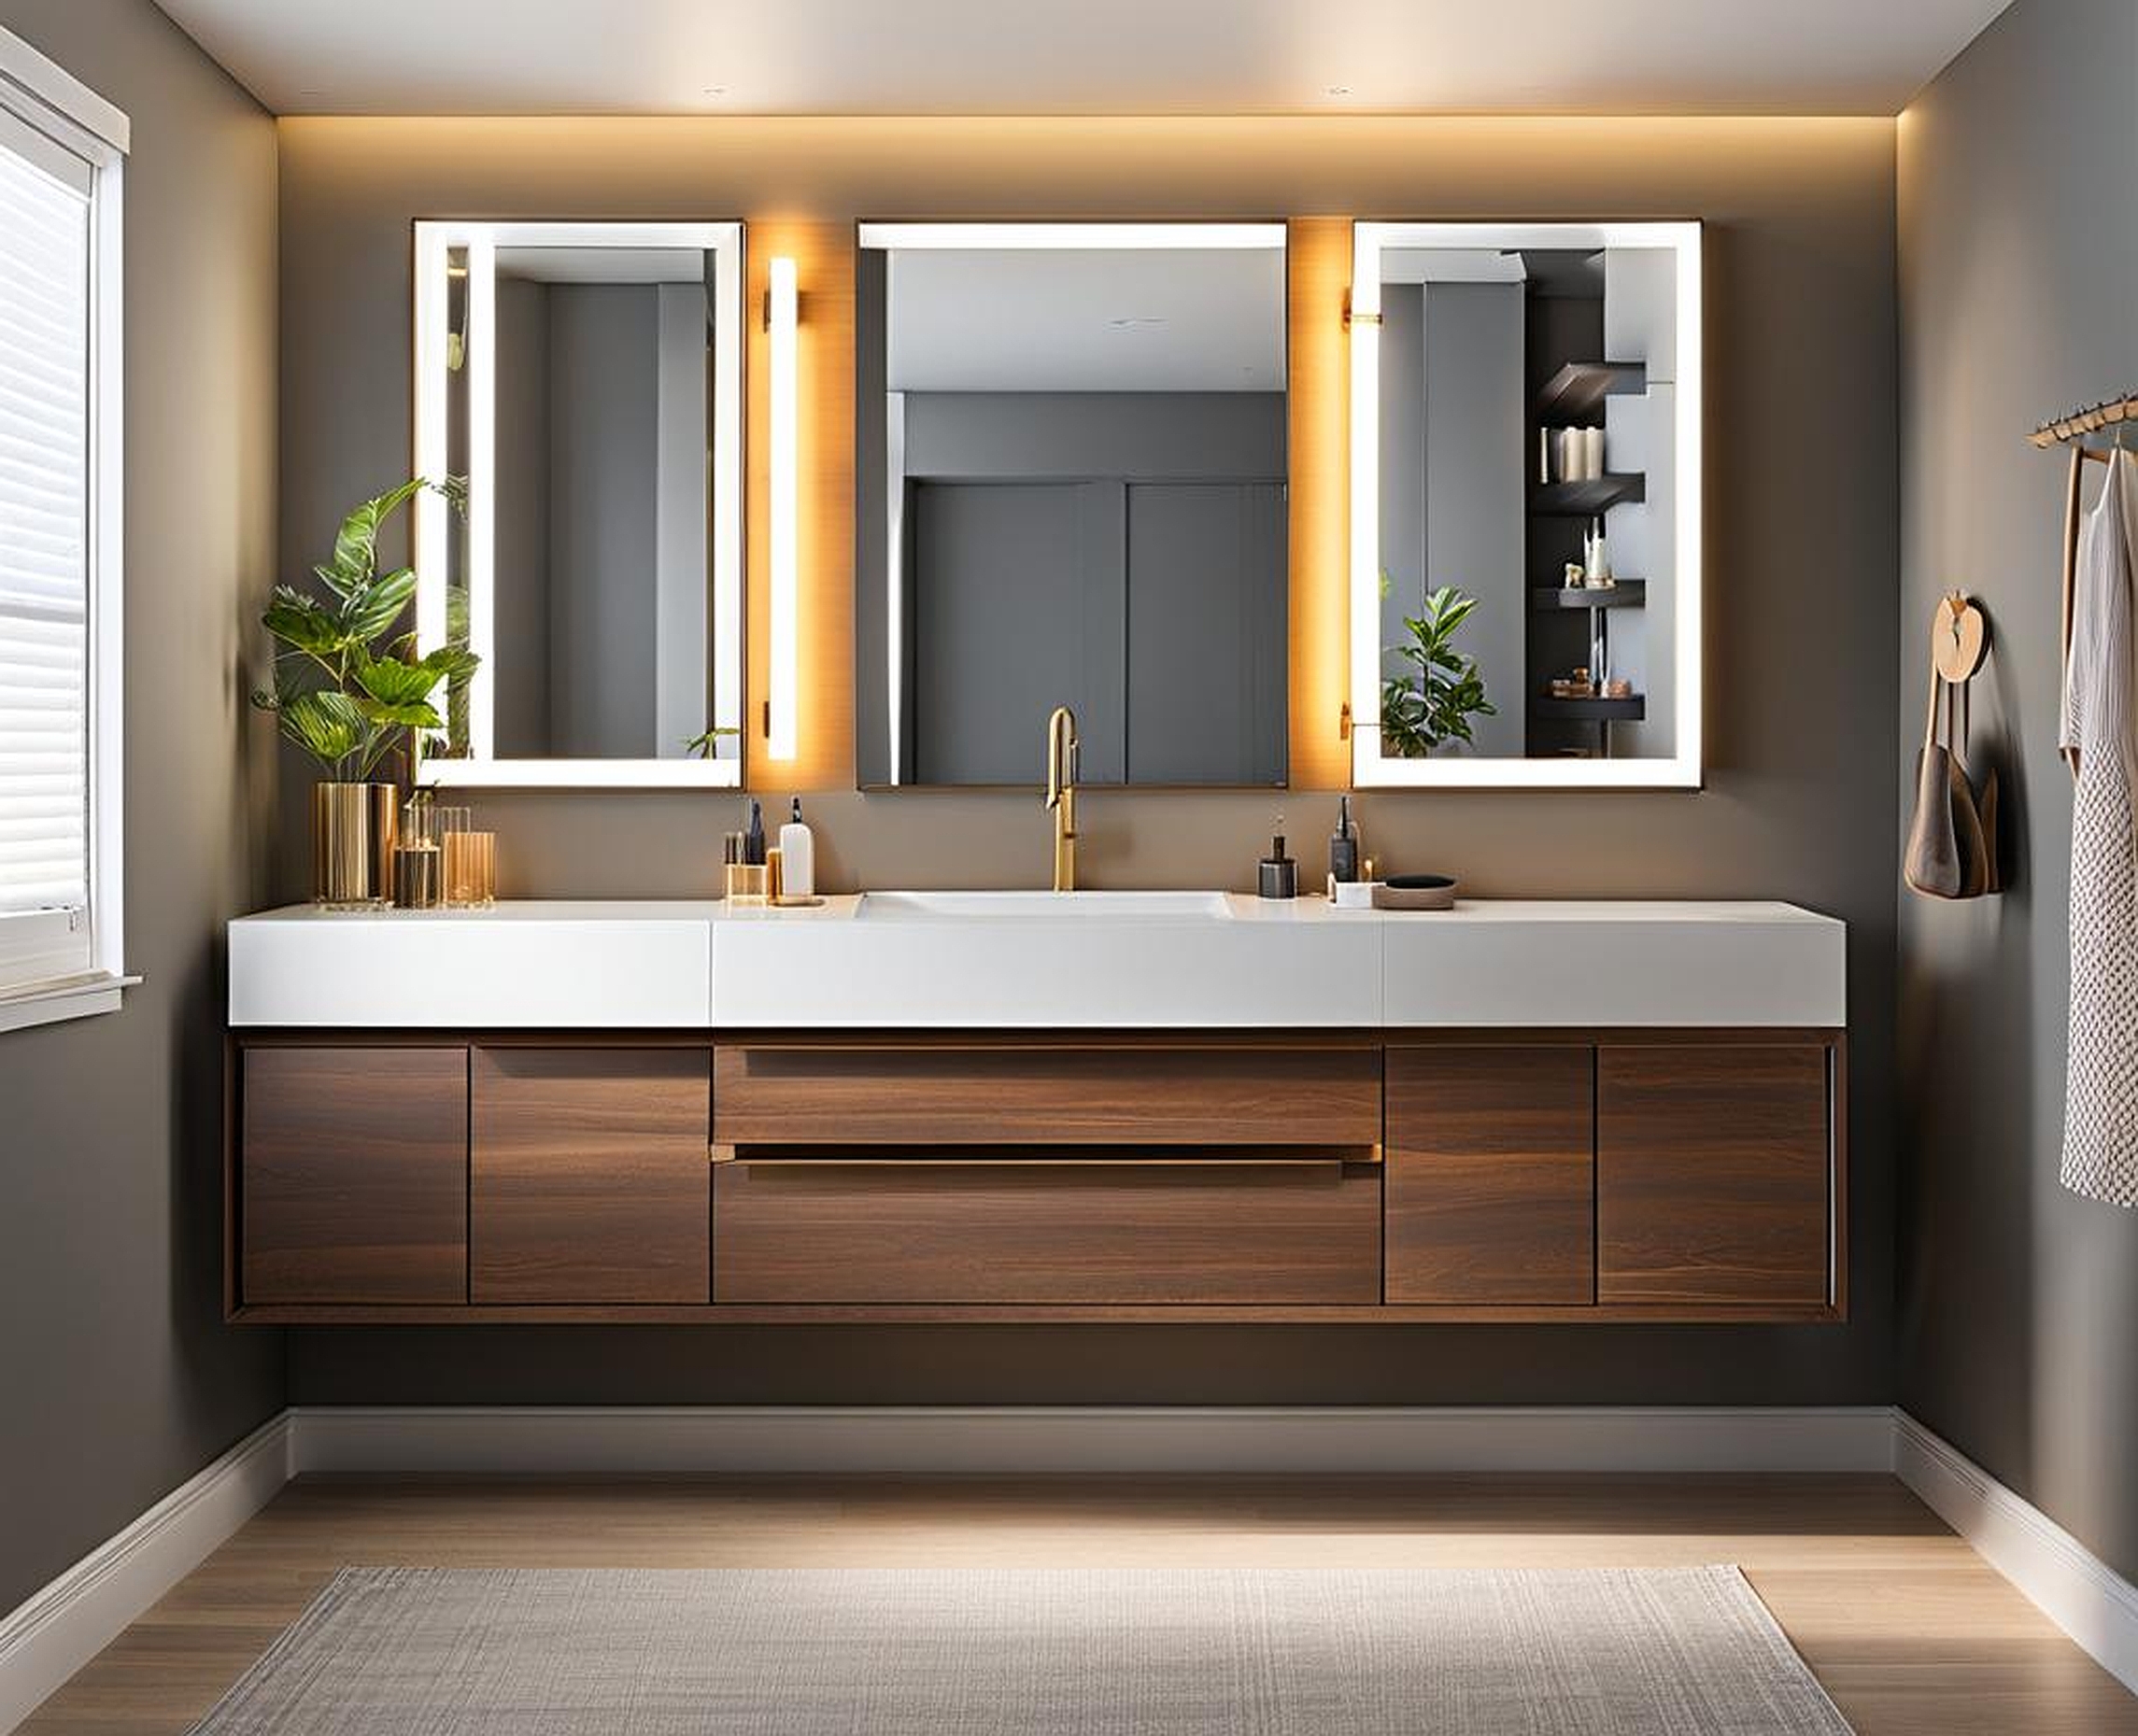
Crafting a floating vanity is not only about practicality but also about infusing your personal style into the design. Explore various inspirations and let your creativity soar. For a minimalist and modern approach, consider sleek lines and a monochromatic color palette. Combine natural wood tones with matte black hardware for a sophisticated and timeless aesthetic.
If you prefer a touch of rustic charm, incorporate reclaimed or distressed wood elements into your floating vanity. Pair it with vintage-inspired fixtures and a vessel sink for a warm and inviting ambiance. Alternatively, embrace bold colors and patterns for a vibrant and eclectic statement piece that will undoubtedly be the focal point of your bathroom.
Don’t be afraid to think outside the box and experiment with unconventional materials or shapes. A floating vanity can be a true reflection of your personal style, so have fun with the design process and let your creativity shine.
Material Selection: Choosing the Right Wood, Hardware, and Finishes
The materials you choose for your floating vanity play a crucial role in its durability, functionality, and overall aesthetic appeal. When it comes to wood, consider options like oak, maple, or cherry for their strength and beauty. Alternatively, opt for moisture-resistant materials like marine-grade plywood or cedar for added protection against humidity and water exposure.
For the hardware, prioritize quality and corrosion resistance. Stainless steel or brass brackets and screws will ensure your vanity remains sturdy and secure for years to come. Don’t overlook the importance of anchors, as they provide a solid connection between the vanity and the wall, ensuring stability and safety.
Finally, select finishes that complement your overall design vision. From sleek, high-gloss lacquers to rustic, distressed stains, the possibilities are endless. Consider the maintenance requirements and durability of each finish, as well as its compatibility with the chosen materials.
With your floating vanity masterpiece ready, it’s time to bring it to life by securely mounting it to the wall. Start by locating the studs within the wall, as these will provide the strongest anchoring points. Mark their positions accurately to ensure proper alignment and support for your vanity.
Next, follow the manufacturer’s instructions for attaching the mounting brackets or hardware to the vanity frame. Double-check the measurements and level the vanity before securing it to the wall. If necessary, use shims to ensure a flush and even fit.
Once the vanity is securely mounted, complete the installation by adding the countertop, sink, and any additional fixtures or accessories. Pay close attention to plumbing connections and ensure proper sealing to prevent any water damage or leaks.
Step back and admire your handiwork – a stunning and functional floating vanity that not only elevates the aesthetic of your bathroom but also showcases your DIY prowess.
