Upgrading your kitchen doesn’t necessarily require a complete overhaul or a massive budget. With a bit of creativity and some elbow grease, you can transform those unwanted cabinets into a stunning kitchen island, breathing new life into your culinary space. By repurposing existing cabinetry, you’ll not only save money but also contribute to a more sustainable lifestyle by reducing waste. Join me as we explore the exciting process of making a kitchen island from cabinets, and prepare to be amazed by the captivating results.
Transforming Unwanted Cabinets into a Stunning Kitchen Island
Before embarking on your kitchen island project, take a critical look at the cabinets you have on hand. Assess their condition, size, and style to determine their suitability for repurposing. While some minor wear and tear can be easily addressed, severely damaged or structurally unsound cabinets may not be the best candidates for this project. Pay close attention to any signs of water damage, warping, or rot, as these could compromise the integrity of your final creation.
Next, envision the layout and design of your dream kitchen island. Consider factors such as the available space, desired dimensions, and how the island will integrate with the existing kitchen layout. This step is crucial as it will guide the arrangement and positioning of the cabinets, ensuring a cohesive and functional result. Measure your kitchen carefully and create a rough sketch or utilize design software to visualize the placement of the island accurately.
To tackle this project successfully, you’ll need a few essential tools and materials. Basic woodworking tools like a saw, drill, and screwdrivers are a must. Additionally, you’ll require wood glue, sandpaper, a level, clamps, and any necessary hardware for assembling the cabinets. Having the right supplies on hand will streamline the process and contribute to a professional-looking final product. Consider investing in high-quality materials that will withstand the demands of a busy kitchen environment.
Step-by-Step Guide to Building a Kitchen Island from Cabinets
With your unwanted cabinets and tools ready, it’s time to roll up your sleeves and get to work. Begin by carefully dismantling the cabinets, making note of how each component fits together. This will aid in the reassembly process later on. Take your time and work methodically, labeling and organizing the various parts to avoid confusion.
Construct a sturdy base and frame for your kitchen island using either new or reclaimed wood. Ensure the frame is level and reinforced to support the weight of the cabinets and any desired countertop material. This foundation will be the backbone of your kitchen island, so take the time to get it right. Consider incorporating additional support beams or braces to enhance stability and longevity, especially if you plan to incorporate seating or heavy appliances.
Once the frame is complete, begin attaching the cabinet doors and drawers. Arrange them in a visually appealing manner, keeping functionality in mind. Consider incorporating open shelving or glass-fronted cabinets to create a lighter, airier feel. This step is where your creativity truly shines, as you can mix and match cabinet styles and finishes to create a one-of-a-kind piece. Experiment with different configurations until you find the perfect balance of aesthetics and practicality.
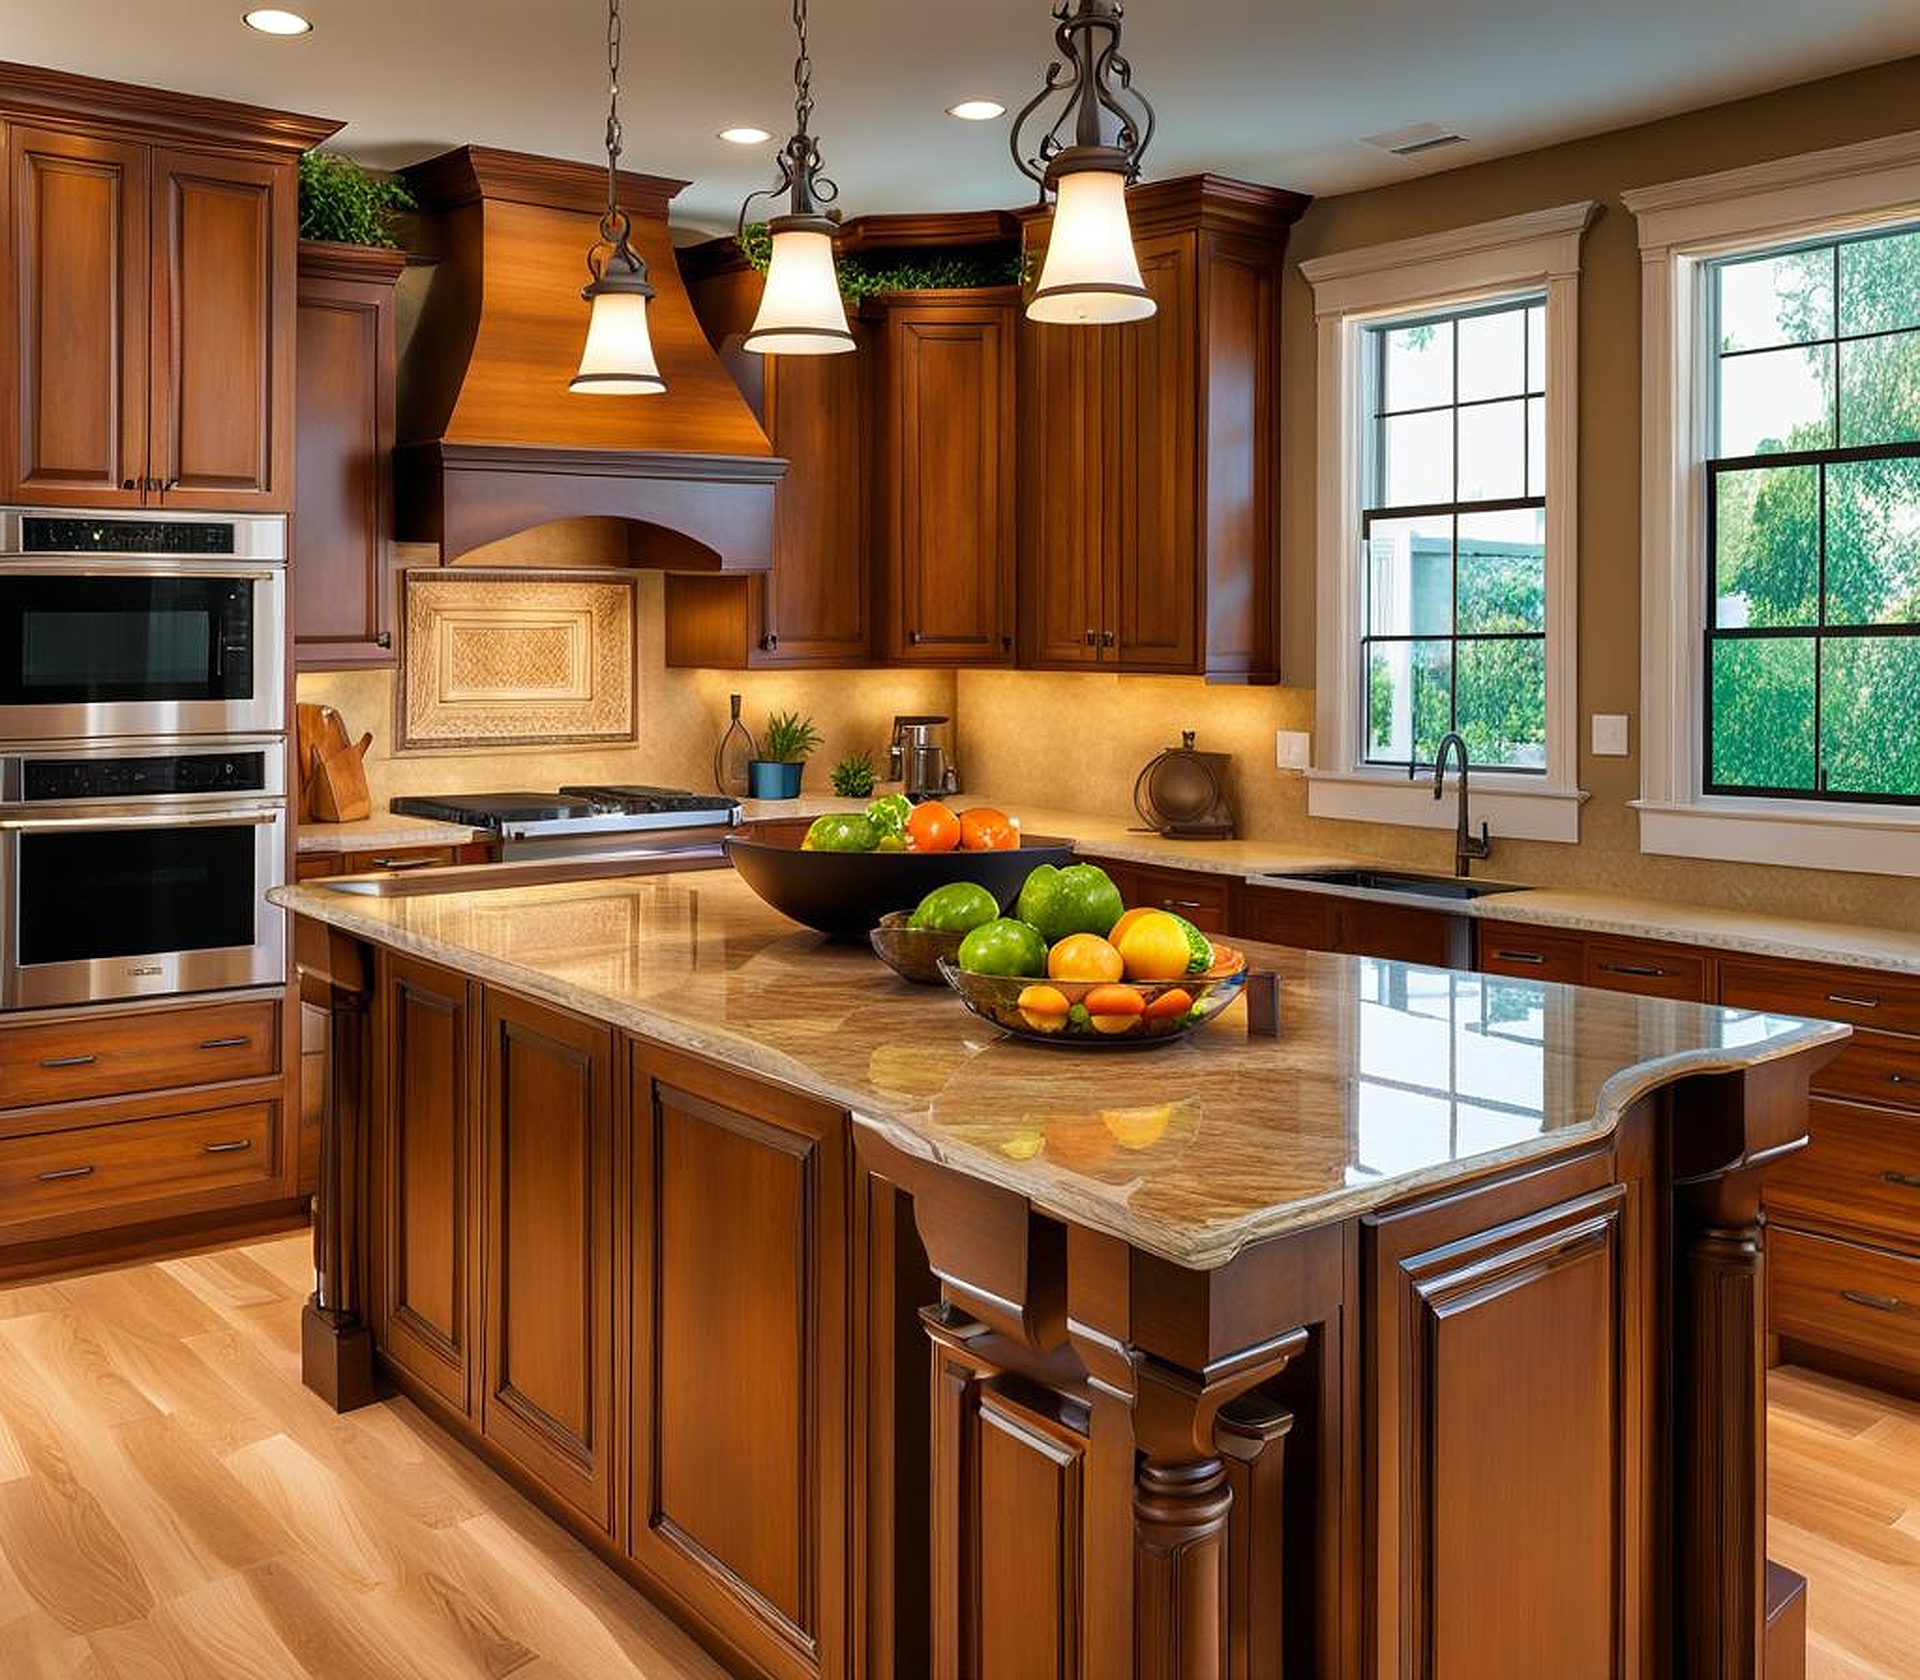
To complete your kitchen island masterpiece, add the finishing touches. Choose a countertop material that complements the cabinet style, such as butcher block, granite, or quartz. Consider factors like durability, moisture resistance, and ease of maintenance when selecting your countertop. If you plan to incorporate seating or built-in appliances like a wine cooler or microwave, ensure the countertop can accommodate the additional weight and necessary cutouts.
Finally, install lighting fixtures to enhance the island’s aesthetic appeal and provide ample illumination for cooking and entertaining. Recessed lighting or pendant lamps can create a warm, inviting atmosphere, while under-cabinet lighting is perfect for task-oriented activities like food preparation or homework.
Creative Design Ideas for a Unique Kitchen Island
While repurposing cabinets into a kitchen island is a practical solution, it also presents an opportunity to unleash your inner designer. Here are a few creative ideas to make your island truly stand out:
- Incorporate open shelving or glass-fronted cabinets to display decorative items or cookbooks, adding visual interest and depth.
- Mix and match cabinet styles and finishes for an eclectic, bohemian vibe. Contrasting colors or textures can create a striking focal point.
- Add seating by extending the countertop overhang or incorporating a built-in bench for a cozy breakfast nook.
- Incorporate built-in appliances like a wine cooler, microwave, or even a small refrigerator for added functionality and convenience.
- Experiment with lighting options, such as pendant lights or under-cabinet lighting, to create a warm and inviting atmosphere.
- Incorporate storage solutions like pull-out drawers or revolving lazy Susans to maximize space and organization.
- Add a touch of greenery by incorporating a built-in planter or herb garden for a fresh, natural touch.
Remember, the key to a successful design is striking a balance between form and function, ensuring that your kitchen island not only looks beautiful but also serves its purpose efficiently. Don’t be afraid to step outside the box and let your personality shine through in your creation.
While transforming cabinets into a kitchen island is a rewarding project, it’s essential to ensure your creation stands the test of time. Here are some crucial tips to keep in mind:
- Reinforce the structure with additional support beams or braces to maintain stability and longevity, especially if you plan to incorporate seating or heavy appliances.
- Choose suitable materials for countertops and finishes that can withstand the demands of a busy kitchen environment. Consider moisture resistance, durability, and ease of maintenance.
- Ensure proper ventilation and electrical considerations if you plan to incorporate built-in appliances or lighting fixtures. Consult a professional electrician if necessary to ensure safety and compliance with local building codes.
- Properly maintain and care for your repurposed kitchen island by regularly cleaning and protecting surfaces from spills and scratches. Use appropriate cleaning products and follow manufacturer’s recommendations for any specialized materials.
- Consider adding casters or wheels to the base of your island for increased mobility and flexibility within your kitchen layout.
- If you plan to incorporate plumbing for a sink or other water source, make sure to account for proper drainage and water lines during the planning and construction phases.
By following these tips, you can rest assured that your hard work and creativity will result in a stunning and long-lasting addition to your kitchen that will serve you well for years to come.
